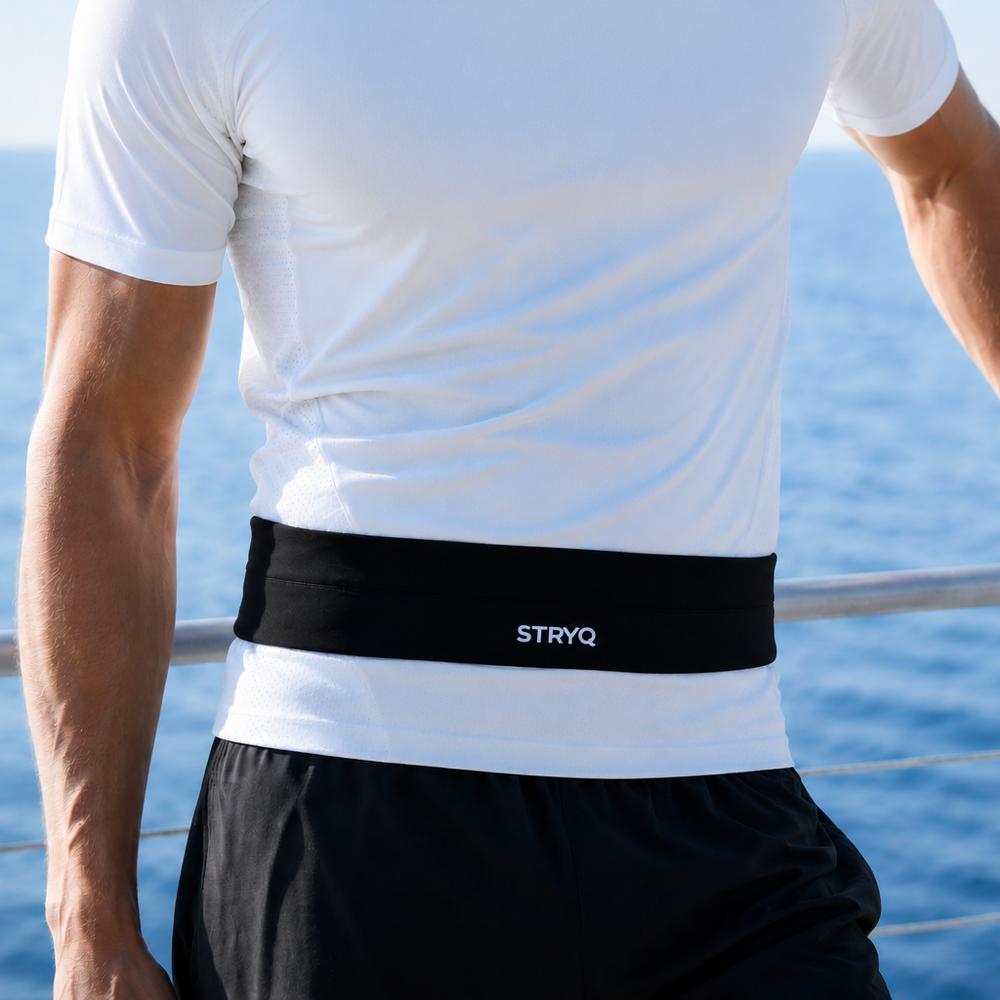
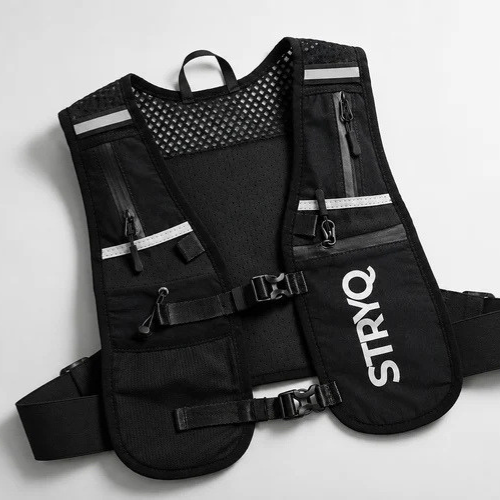
For most runners, a front-flask vest holding two 500ml soft flasks and roughly 2 to 10 litres of overall capacity gives the best balance of stability and easy access. Short runs under an hour barely need a vest at all; anything from one to three hours suits that dual-flask setup; beyond three hours, step up to an 8 to 12 litre vest with room for spare layers. Run through the fit checklist below before race day, and check the STRYQ hydration running vest if you’re shopping for one.
TL;DR:
- Most runners find a 2 to 5 litre vest ideal for runs lasting up to 90 minutes, while 8 to 10 litres suits most half marathons and training sessions.
- Front soft flasks offer easier fluid monitoring and quick swaps, making them preferable for shorter runs or races with aid stations, whereas bladders provide more capacity for longer, remote routes.
- Proper fit depends on load placement, strap tension, and rechecking after ten minutes of activity, with size down if bounce persists after tightening.
- Overpacking, especially items not used in recent long runs, causes bounce and chafe, so load only essentials based on route length and conditions.
- For runs up to three hours, dual 500ml flasks in an 8 to 10 litre vest provide optimal stability and accessibility; longer runs require larger capacity or combining flasks with a bladder.
Table of Contents
- Which vest capacity and hydration system suits your run?
- How to test and fit a vest for a no-bounce run
- Packing zones and loadouts for different run lengths
- Fixing bounce, chafe and slosh without buying a new vest
- Soft flasks or a bladder: which should you actually use?
- How much fluid and fuel should you actually carry?
- How Stryq designs and tests its hydration running vest
- What actually matters when choosing a hydration vest
- Get the fit right with the STRYQ hydration vest range
- Sources
- FAQ
Which vest capacity and hydration system suits your run?
The honest answer is that most runners overbuy capacity and underthink the hydration system. A 20 litre mountain vest looks serious hanging in a shop, but if you run road 10Ks, it will bounce, flap and annoy you far more than a slim 5 litre vest ever would. Match the vest to the run you actually do, not the run you might do one day.
2 to 5 litres suits training runs from 30 minutes to about 90 minutes, parkrun, and most 10K races. You need somewhere for a phone, a key and maybe one soft flask. Anything bigger just adds unused fabric that shifts around as you move.
8 to 10 litres is the sweet spot for half marathons, longer training runs, and any session where you’re carrying two flasks plus gels, a light jacket, and small essentials. This is where the STRYQ hydration running vest sits, and it’s the size most recreational and serious runners actually need for the bulk of their training calendar.
12 litres and above belongs to marathon-distance training, ultras, and mountain or trail routes where aid stations are sparse. You’re now packing spare layers, a map or GPS device, more fuel, and possibly a bladder rather than flasks alone.
Front flasks versus a rear reservoir is the second decision, and it matters more than most buying guides admit. Front-mounted soft flasks let you see exactly how much fluid remains, swap between plain water and an electrolyte mix mid-run, and drink without breaking stride. A comparison of flask and bladder hydration systems found flasks easier to monitor and swap, while bladders offer more capacity but slosh more when partly full and are harder to top up on the move.
A rear bladder wins on raw volume and works well when refill points are rare, such as long trail days between water stops. It loses on convenience: you have to stop, remove the vest, and open the reservoir to refill it, and cleaning a bladder properly after every long run takes real effort compared with rinsing a flask.
Route and weather should shift your decision more than personal preference does. Consider:
- Hot, exposed routes favour higher total capacity even at shorter distances, because sweat rate climbs fast in heat.
- Frequent aid stations or shop stops mean you can run a smaller vest and refill flasks as you go, rather than carrying a full run’s worth of fluid.
- Point-to-point trail routes with long gaps between water sources push you towards a bladder or a combination of flasks and a bladder.
- Short, familiar loops near home rarely need more than a single flask, since you’re never far from a tap.
If you’re still torn between two sizes, size down. An underbilled large vest bounces more than a correctly loaded smaller one, because the volume of dead space inside the pack is what causes movement, not the weight of the water itself.
How to test and fit a vest for a no-bounce run
Fit, not the vest’s price tag, decides whether you feel it on your back after mile one or forget it’s there. Runners who buy the “best” vest on paper and skip the fit process are usually the ones posting complaints about chafing three weeks later.
Follow this sequence every time you buy a new vest, and repeat the load and cinch step whenever your kit changes significantly:
- Load the vest exactly as you would for the run. Fill both flasks, add your gels, phone and any spare layer. Fitting an empty vest and cinching it loose is the single most common mistake runners make, because straps adjusted on an empty vest go slack once the load settles during actual running.
- Cinch the bottom straps first, pulling the base of the vest snug against your lower back and ribs.
- Cinch the top straps second, bringing the shoulder area close without restricting your breathing or arm swing.
- Adjust the sternum strap so it sits comfortably across your chest, not up near your collarbone or down near your stomach.
- Do a movement test: jog on the spot, then do 20 seconds of arm swings and a few star jumps. Watch and feel for movement in the pack, particularly around the lower back.
- Run for 10 minutes, then stop and recheck every strap. Fabric and webbing settle once warm, and a vest that felt snug standing still often loosens slightly once you’re moving, so rechecking after ten minutes catches this before it becomes a problem on a long run.
If the bounce persists after tightening, the issue is usually tension, not size. A vest that’s genuinely too big will show gaping at the sides or shoulder straps that slip no matter how far you cinch them. A vest that fits but bounces almost always needs the load rebalanced closer to your spine, or the bottom strap taken in another notch.
Pro Tip: Do your first fit test on a treadmill or a short loop near home, not on race morning. A vest that feels perfect standing in your kitchen can shift completely once you’re 20 minutes into a run with a warm back and a sweaty base layer.
Chafe at this stage usually means a strap is sitting on bare skin during arm swing, rather than the vest being wrong for you. Move the offending strap half an inch, or run in a top with slightly more coverage at the shoulder seam, before assuming the vest itself is at fault.
Packing zones and loadouts for different run lengths
Where you put things matters as much as what you carry. Gear packed in the wrong zone is what actually causes bounce, not the total weight in the vest.
The zoning method is straightforward once you’ve done it a couple of times. Pack heavy hydration high and close to the chest in front-flask systems, keep mid-run nutrition within easy one-hand reach in the side pockets, and stash bulky, rarely-used items flat and low in the rear compartment. This keeps your centre of gravity stable and your most-used items closest to hand.
- Front (highest use): soft flasks, the next 60 to 90 minutes of fuel, gels you’ll eat soon.
- Sides (mid-run access): spare gels, electrolyte tablets, a small first-aid item, phone if you check it often.
- Back (low use, bulk): spare layer, waterproof, head torch, extra fuel for later in the run, a folded bag for waste.
Example loadout: 30 to 60 minute run
One 500ml flask is usually plenty here, carried front and centre. Add a single gel only if you’re doing efforts or it’s particularly warm. Everything else, including a spare layer, stays at home. This is the run where a 2 to 5 litre vest earns its keep by disappearing on your back.
Example loadout: 1 to 3 hour run
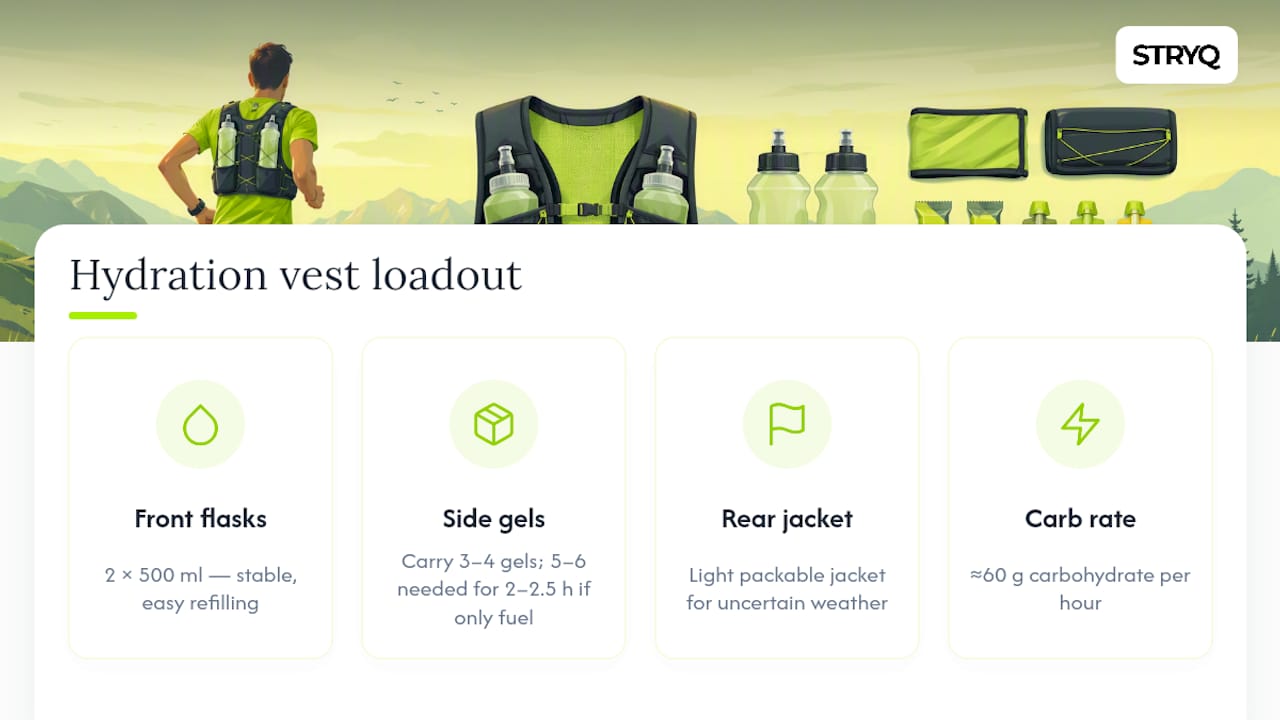
Two front flasks, each filled to 500ml, remain the standard for this window. A comparison of hydration setups for trail running found that dual 500ml front flasks give runners the best balance of stability, accessibility and easy refilling for runs up to roughly three hours. Pack three to four gels in your side pockets, doing simple carb maths beforehand: at around 60g of carbohydrate per hour, a 2 to 2.5 hour run needs roughly five to six gels if that’s your only fuel source, spread across flasks with electrolyte mix and solid food if you tolerate it. Add a light packable jacket in the rear compartment if the weather is uncertain.
Example loadout: 3 hours plus
Step up to the 8 to 12 litre range here. Keep the two front flasks for immediate hydration, but consider a small bladder or a third flask stashed in the rear if aid stations are far apart. Fuel needs grow proportionally, so budget six or more gels, plus a bar or two if you’re running towards the four-hour mark, spread between side pockets and the rear compartment. A spare buff, a compact waterproof, and a charging cable for a GPS watch belong low in the back where they won’t shift the balance of the pack.
A dedicated pocket for wrappers and empty gel sachets is worth building into every loadout regardless of distance. Keeping a specific pocket for waste stops sticky wrappers loose in your main compartment and prevents them falling out mid-run, which matters both for tidiness and for race etiquette on organised events.
One instinct to resist: packing “just in case” extras. Over-stuffing a vest is one of the most common mistakes runners make, and every item that doesn’t earn its place adds bounce, chafe risk and unnecessary fatigue over distance. If you haven’t used an item in your last three long runs, it probably doesn’t need to travel with you again.
Fixing bounce, chafe and slosh without buying a new vest
Most fit complaints aren’t actually about the vest. They’re about load placement, strap tension, or a training top that was never going to play nicely with any pack.
Bounce almost always traces back to weight sitting too high or too far from your spine. Work through these fixes in order before assuming the vest is the problem:
- Rebalance the load so flasks and heavier items sit close to your chest and back, not bulging outward in side pockets.
- Recheck cinch tension on both top and bottom straps; a loose bottom strap is the single biggest bounce culprit.
- Reposition the sternum strap slightly lower or higher until the front panel stops shifting during arm swing.
- Drop unnecessary weight; even 200 to 300 grams of “just in case” kit can be the difference between stable and bouncy.
Chafe tends to show up at the shoulder seams, under the arms where straps cross, or along the lower back where the vest hem meets skin. Fixes include changing to a smoother base layer for long runs, checking seam placement against your own build before a big event, and applying an anti-chafe balm at known pressure points. If a strap consistently rubs in the same spot, that’s usually a fit issue rather than something balm alone will solve long term, so revisit sizing before your next long run.
Slosh, that sound of half-full flasks moving with each stride, is more than an annoyance. It signals uneven fluid distribution, which itself contributes to imbalance and bounce. Drink evenly from both flasks rather than emptying one before starting the other, and top up both to similar levels whenever you pass a refill point rather than filling just one flask to capacity.
Pro Tip: If you’re getting slosh from a single half-full bladder rather than flasks, try folding or rolling the empty section of the reservoir before you set off. It sounds fussy, but it stops the “water balloon” effect that fuels both noise and imbalance on longer trail descents.
For a deeper walkthrough of these adjustments, our guide to fitting a hydration vest without bounce covers strap sequencing and torso measurement in more detail, and our chafing fixes for runners piece is worth reading before a long-distance event if chafe has caught you out before.
Soft flasks or a bladder: which should you actually use?
Choose flasks if you want visibility, quick swaps between water and electrolyte drink, and easy cleaning. Choose a bladder if you’re covering long stretches without refill access and need more total volume than two or three flasks can hold.
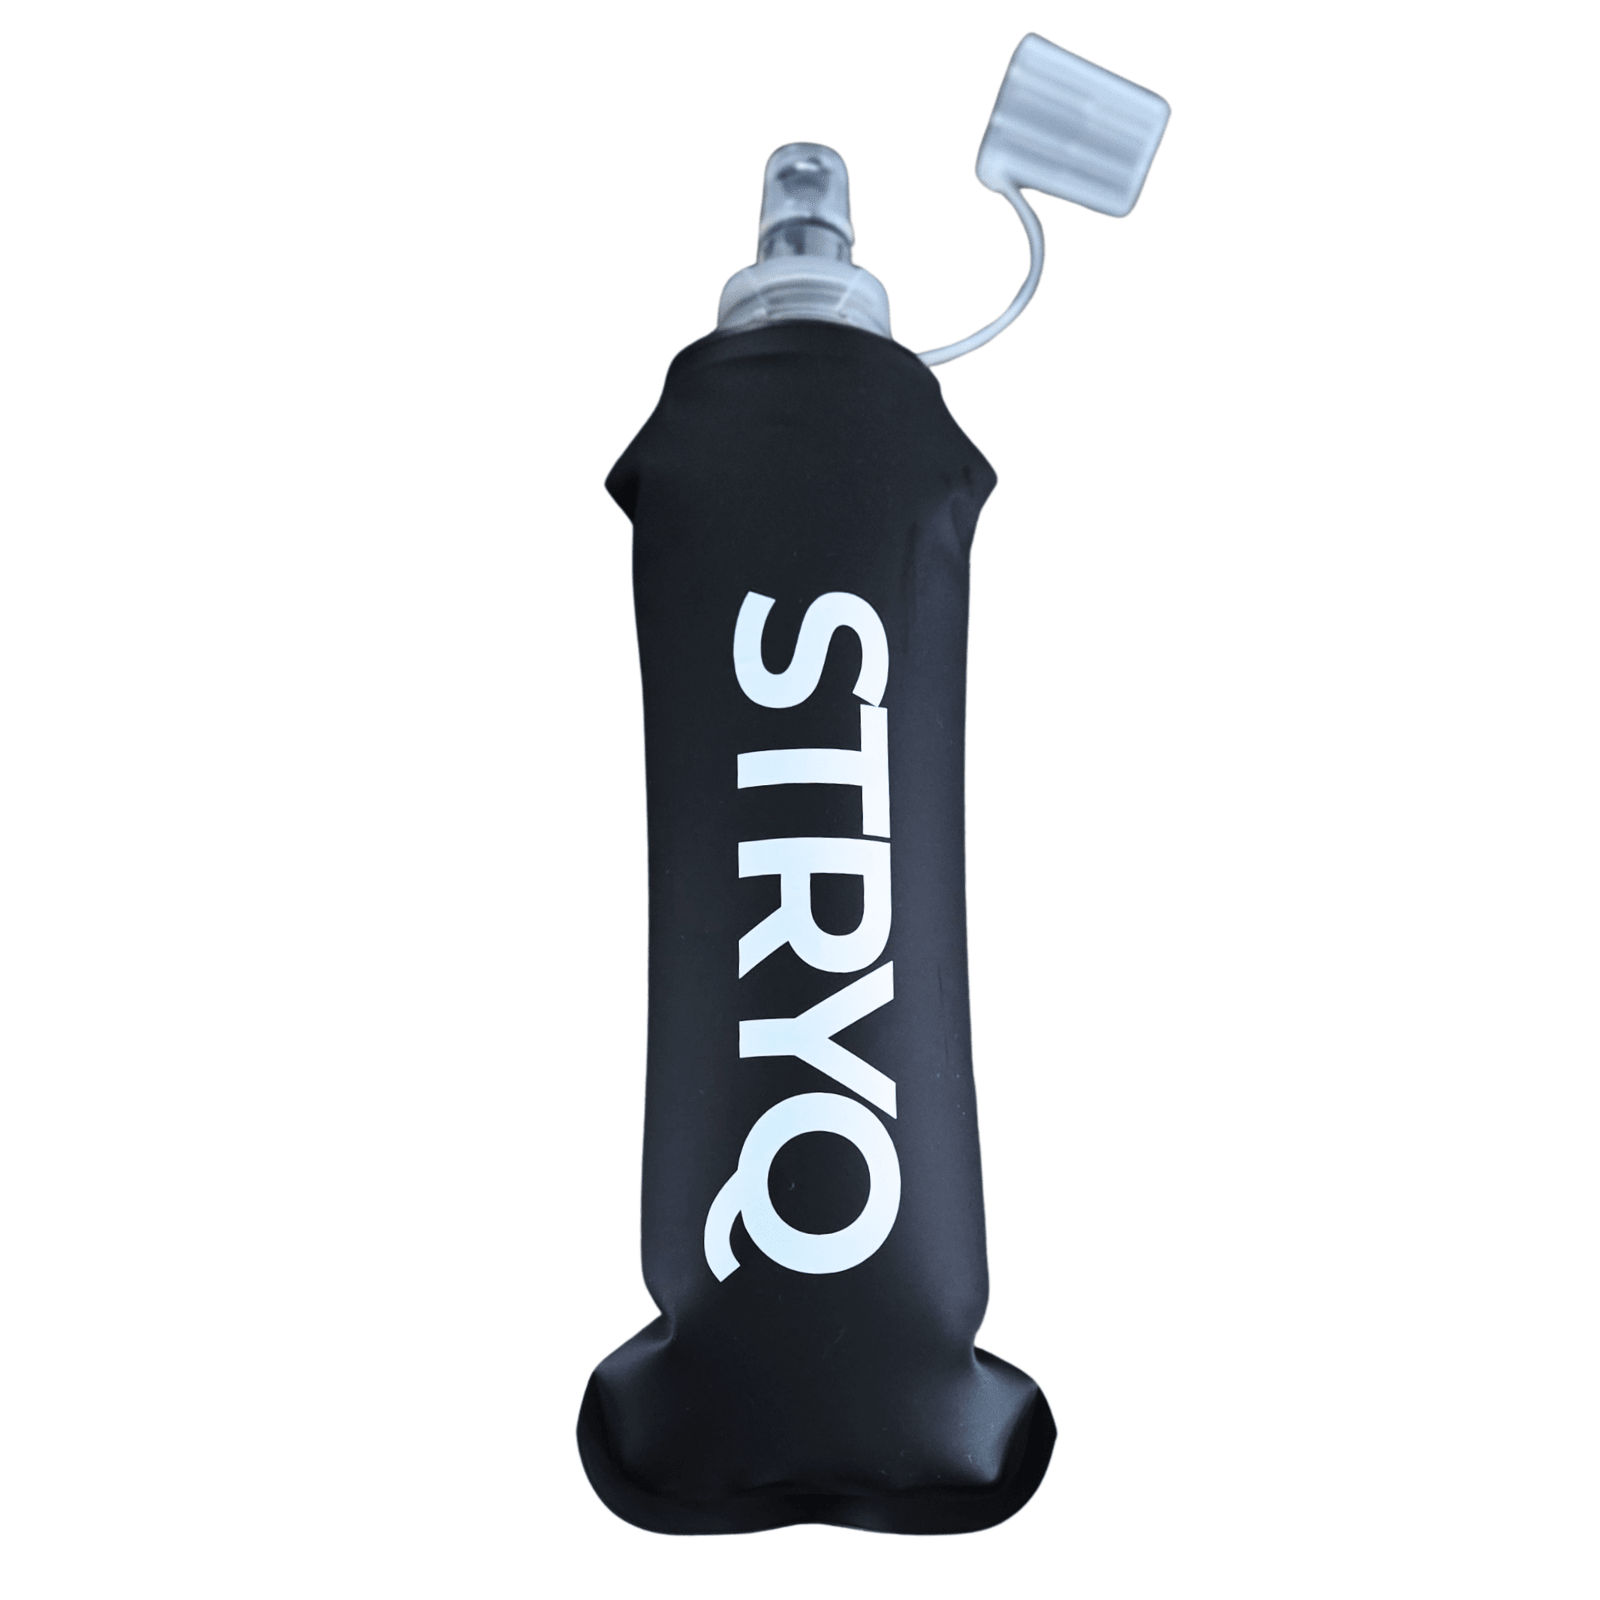
Front soft flasks win on day-to-day practicality. You can see exactly how much is left at a glance, which matters when you’re pacing your fluid intake across a long run. Swapping between plain water in one flask and an electrolyte mix in the other takes seconds, and cleaning a flask after a run is a rinse-and-dry job rather than a chore.
Bladders win on raw capacity. A 1.5 to 2 litre reservoir carries more than three 500ml flasks combined, which matters on remote trail routes where the next water source might be two hours away. The trade-off is refill practicality: you generally need to stop, remove the vest, and unscrew the reservoir cap to top it up, whereas a flask can be refilled from a bottle or tap in seconds while you keep walking.
- Choose flasks for road runs, races with aid stations, and anywhere you want to monitor intake and swap fluids easily.
- Choose a bladder for point-to-point trail runs, ultras, or hot conditions where total capacity outweighs convenience.
- Combine both for long ultras: flasks up front for your immediate, frequently-accessed fluid, and a bladder in the rear as a reserve you dip into only when the flasks run dry.
Cleaning effort deserves an honest mention here, because it’s the detail most buying guides skip. A soft flask can sit half-rinsed on a drying rack overnight with no consequence. A bladder left damp inside its reservoir for a few days is a genuine mould risk, and cleaning the full length of the drinking tube properly takes a dedicated brush and a few minutes you’ll need to actually set aside. If you know you won’t keep on top of that maintenance, flasks are the lower-effort choice by a wide margin. For a full breakdown of when each system makes sense, see our soft flask versus hydration bladder comparison.
How much fluid and fuel should you actually carry?
Two 500ml soft flasks, carried front and centre, is the practical standard for the vast majority of runs up to roughly three hours, with refills planned wherever your route allows it. This isn’t a guess: field testing on hydration vest setups for trail running points to this exact combination as the best balance of stability, access and refill convenience for that duration.
For carbohydrate, a working figure many coaches and fuelling guides use is around 60 grams per hour during sustained running efforts past the one-hour mark. In practical terms, that’s roughly two standard energy gels per hour if gels are your only fuel source, though most runners mix gels with chews, a bar, or real food on runs past the two-hour mark to avoid gel fatigue. Below is a rough guide for planning purposes:
| Run duration | Fluid setup | Approximate fuel needed |
|---|---|---|
| 30 to 60 minutes | One 500ml flask | None to one gel |
| 1 to 2 hours | Two 500ml flasks | Two to four gels |
| 2 to 3 hours | Two 500ml flasks, refill if possible | Four to six gels or equivalent |
| 3 hours plus | Flasks plus bladder or planned refills | Six or more gels, plus bars/real food |
Route planning should do some of this work for you rather than forcing you to carry every drop and gel from the start line. If your long run passes a shop, a tap, or a friend’s house at the halfway point, use it. Carrying an extra 500ml of water you didn’t need adds roughly half a kilogram of dead weight bouncing on your back for the second half of the run, working against exactly the no-bounce fit you spent time achieving.
How Stryq designs and tests its hydration running vest
Stryq exists to fix the everyday frustrations runners actually complain about, rather than chasing the lowest price point on a shelf. The Stryq approach to gear starts with genuine problems: vests that bounce, straps that dig in, pockets you can’t reach mid-stride, and that’s the brief every product on the range gets tested against.
Every item goes through real-world runner feedback before it reaches a shop page. That means multiple sample revisions, extended test runs across different distances and conditions, and strict quality checks before anything gets a green light. It’s a slower process than simply badging a generic vest and shipping it, but it’s the only way to catch the fit issues that only show up after 10 kilometres, not 10 minutes.
That testing discipline maps directly onto the advice in this article. The emphasis on cinching a loaded vest rather than an empty one, the zoning method that keeps front pockets for high-use items, and the insistence on rechecking fit after ten minutes of movement, these aren’t generic tips borrowed from elsewhere. They reflect the exact failure points that show up when a vest is packed the way real runners actually pack, not the way a product photo suggests.
Pocket placement on the Stryq hydration running vest follows the same front, side, rear logic covered above, precisely because that’s what testers found actually reduces bounce and improves access. Adjustable straps at both the top and bottom of the vest exist specifically so runners can follow the load, cinch, recheck sequence properly, rather than being stuck with a single fixed fit that works for one body shape and not another.
What actually matters when choosing a hydration vest
Most buying advice treats hydration vests as a specs competition, more litres, more pockets, more straps automatically framed as better. That’s backwards. The runners who end up happiest with their vest are the ones who bought the smallest capacity that covers their actual training, then spent ten minutes learning to load and cinch it properly.
Fit technique beats hardware more often than the industry likes to admit. A mid-range vest packed correctly, loaded before cinching, zoned with heavy items close to the spine, rechecked after warming up, will outperform an expensive vest packed carelessly. That’s not a popular message for anyone selling premium gear, but it’s the honest one.
If you take one thing from this guide, prioritise the load-then-cinch sequence over agonising further between capacity sizes. Pick the band that matches your typical long run, not your longest ever run, and put the real effort into fit technique. That’s where the bounce, chafe and discomfort complaints actually get solved.
— martin
Get the fit right with the STRYQ hydration vest range
Stryq built its hydration running vest around the exact fit problems covered in this guide, not a features checklist designed to look good on a product page.
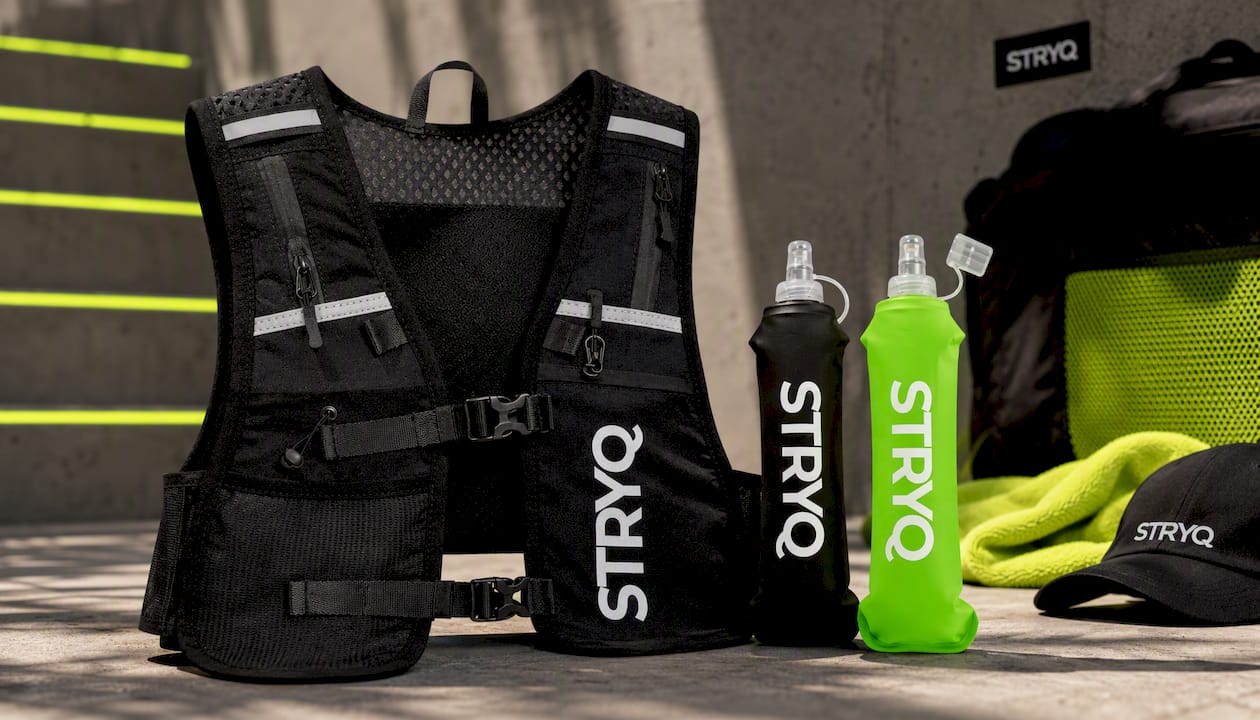
The STRYQ HYDRATION RUNNING VEST uses adjustable top and bottom straps designed for the load, cinch, recheck sequence described above, with front pockets sized specifically for two flasks and your next 60 to 90 minutes of fuel. If you need spares or want a backup for race day, the STRYQ 500ml Running Soft Flask for Hydration Vests (Black) matches the dual-flask setup recommended for runs up to three hours, and the STRYQ Green 500ml Hydration Vest Bottle gives you a visible alternative if you prefer to track fluid levels at a glance.
Run through the fit checklist from this article with your loaded vest before your next long run: fill it, cinch bottom then top, adjust the sternum strap, and recheck after ten minutes of movement. Browse the full running gear collection to build out your setup, or head straight to the vest product page to see sizing and pocket layout in detail.
Sources
- The best hydration vests for trail running — Trail Runner Magazine
- How to pack a running vest for a 20-mile long run — Veloforte
- Gilet-packing: the complete guide to organising your trail pack — AthleteSide
FAQ
What’s the difference between a hydration pack and a hydration vest?
A hydration pack usually refers to a backpack-style bag with a rear reservoir and shoulder straps, often used for hiking or longer trail days. A hydration vest sits closer to the body, distributes weight across the chest and back, and typically favours front-mounted soft flasks for quick access, making it the better choice for running rather than walking.
Who makes the best hydration vests?
There’s no single best vest for every runner, since the right choice depends heavily on your body shape, typical distance and how much you carry. Front-flask setups with adjustable top and bottom straps, like the STRYQ hydration running vest, tend to suit most road and half-marathon training, while larger capacity vests suit ultra and mountain running.
Are hydration packs worth it?
For runs under 30 minutes on familiar routes, probably not, a single handheld flask or nothing at all often does the job. For anything from an hour upwards, a vest earns its place by letting you drink and fuel without breaking stride, which is the main performance advantage over carrying a bottle by hand.
Which is the best hydration pack for long runs?
For runs up to about three hours, two 500ml front flasks in an 8 to 10 litre vest give the best balance of stability, accessibility and refill convenience. Beyond three hours, step up to 12 litres or more, or combine flasks with a rear bladder if refill points along your route are limited.
How do I stop my hydration vest from bouncing?
Load the vest fully before cinching the straps, since adjusting an empty vest leads to a loose fit once weight settles during running. Keep heavy items close to your spine, recheck strap tension after ten minutes of movement, and avoid packing anything that doesn’t earn its place on that specific run.