The fastest way to organize a hydration vest is a pocket-by-pocket system: heavy items and the bladder sit close to your back, frequently used items go in front pockets, and you settle on a refuelling plan before you leave the house. Get those three decisions right and the rest of your kit falls into place.
- Set your hydration method first (chest flasks, back bladder, or both).
- Fill front pockets with anything you need without stopping.
- Push heavy items back to keep the vest balanced.
REI’s guidance on hydration systems, hands-on testing of 70+ vests by OutdoorGearLab, and practical gear from Stryq all point the same way: organisation beats capacity every time.
Key Takeaways
Race-ready hydration vest organisation comes down to three fixed rules: heavy items go back, frequently used items go front, and your refill plan is decided before you start running.
| Point | Details |
|---|---|
| Pack by access frequency | Front pockets hold items you need mid-stride; the back holds bulk and weight. |
| Match hydration to duration | Flasks suit runs under two hours; bladders suit anything needing over a litre. |
| Fit before you pack | Adjust torso length and straps snug, then load and retest at pace. |
| Dry reservoirs fully | Rinse, disassemble the valve, and air dry inverted after every run to stop mould. |
| Build the system with Stryq | Soft flasks, running belts, and cushioned socks each support one part of the pocket-by-pocket approach. |
Table of Contents
- Pre-pack checklist: what to carry for training vs race day
- Pocket-by-pocket layout: exactly where to put everything and why
- Chest flasks versus back bladder: which should you carry?
- How do you stop a hydration vest from bouncing?
- Refill and race-day strategies: how to top up without losing time
- Cleaning, drying and storing bladders and soft flasks
- Common hydration vest problems and quick fixes
- What testing 70+ vests actually teaches you about packing
- Ready to sort your hydration vest kit? Here’s where to start
- Sources
Pre-pack checklist: what to carry for training vs race day
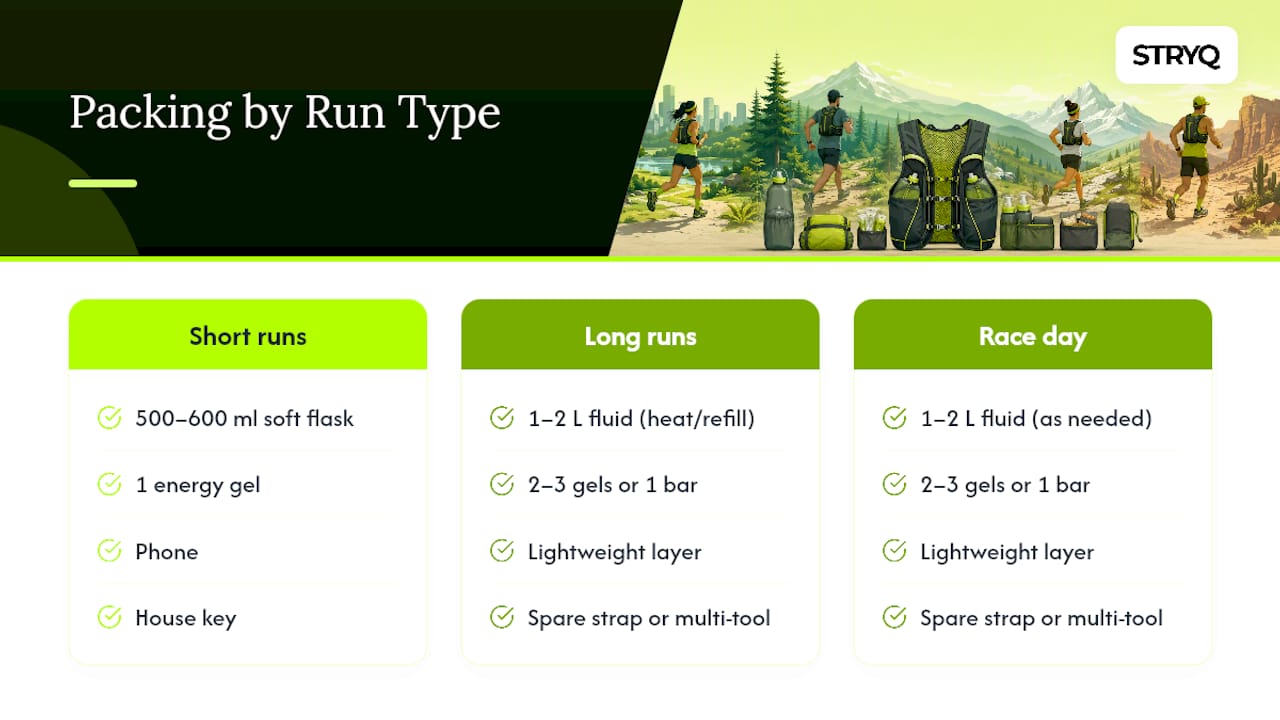
A 90 minute training run and a 50K need entirely different loadouts, and packing the wrong one is how runners end up either dehydrated or carrying dead weight.
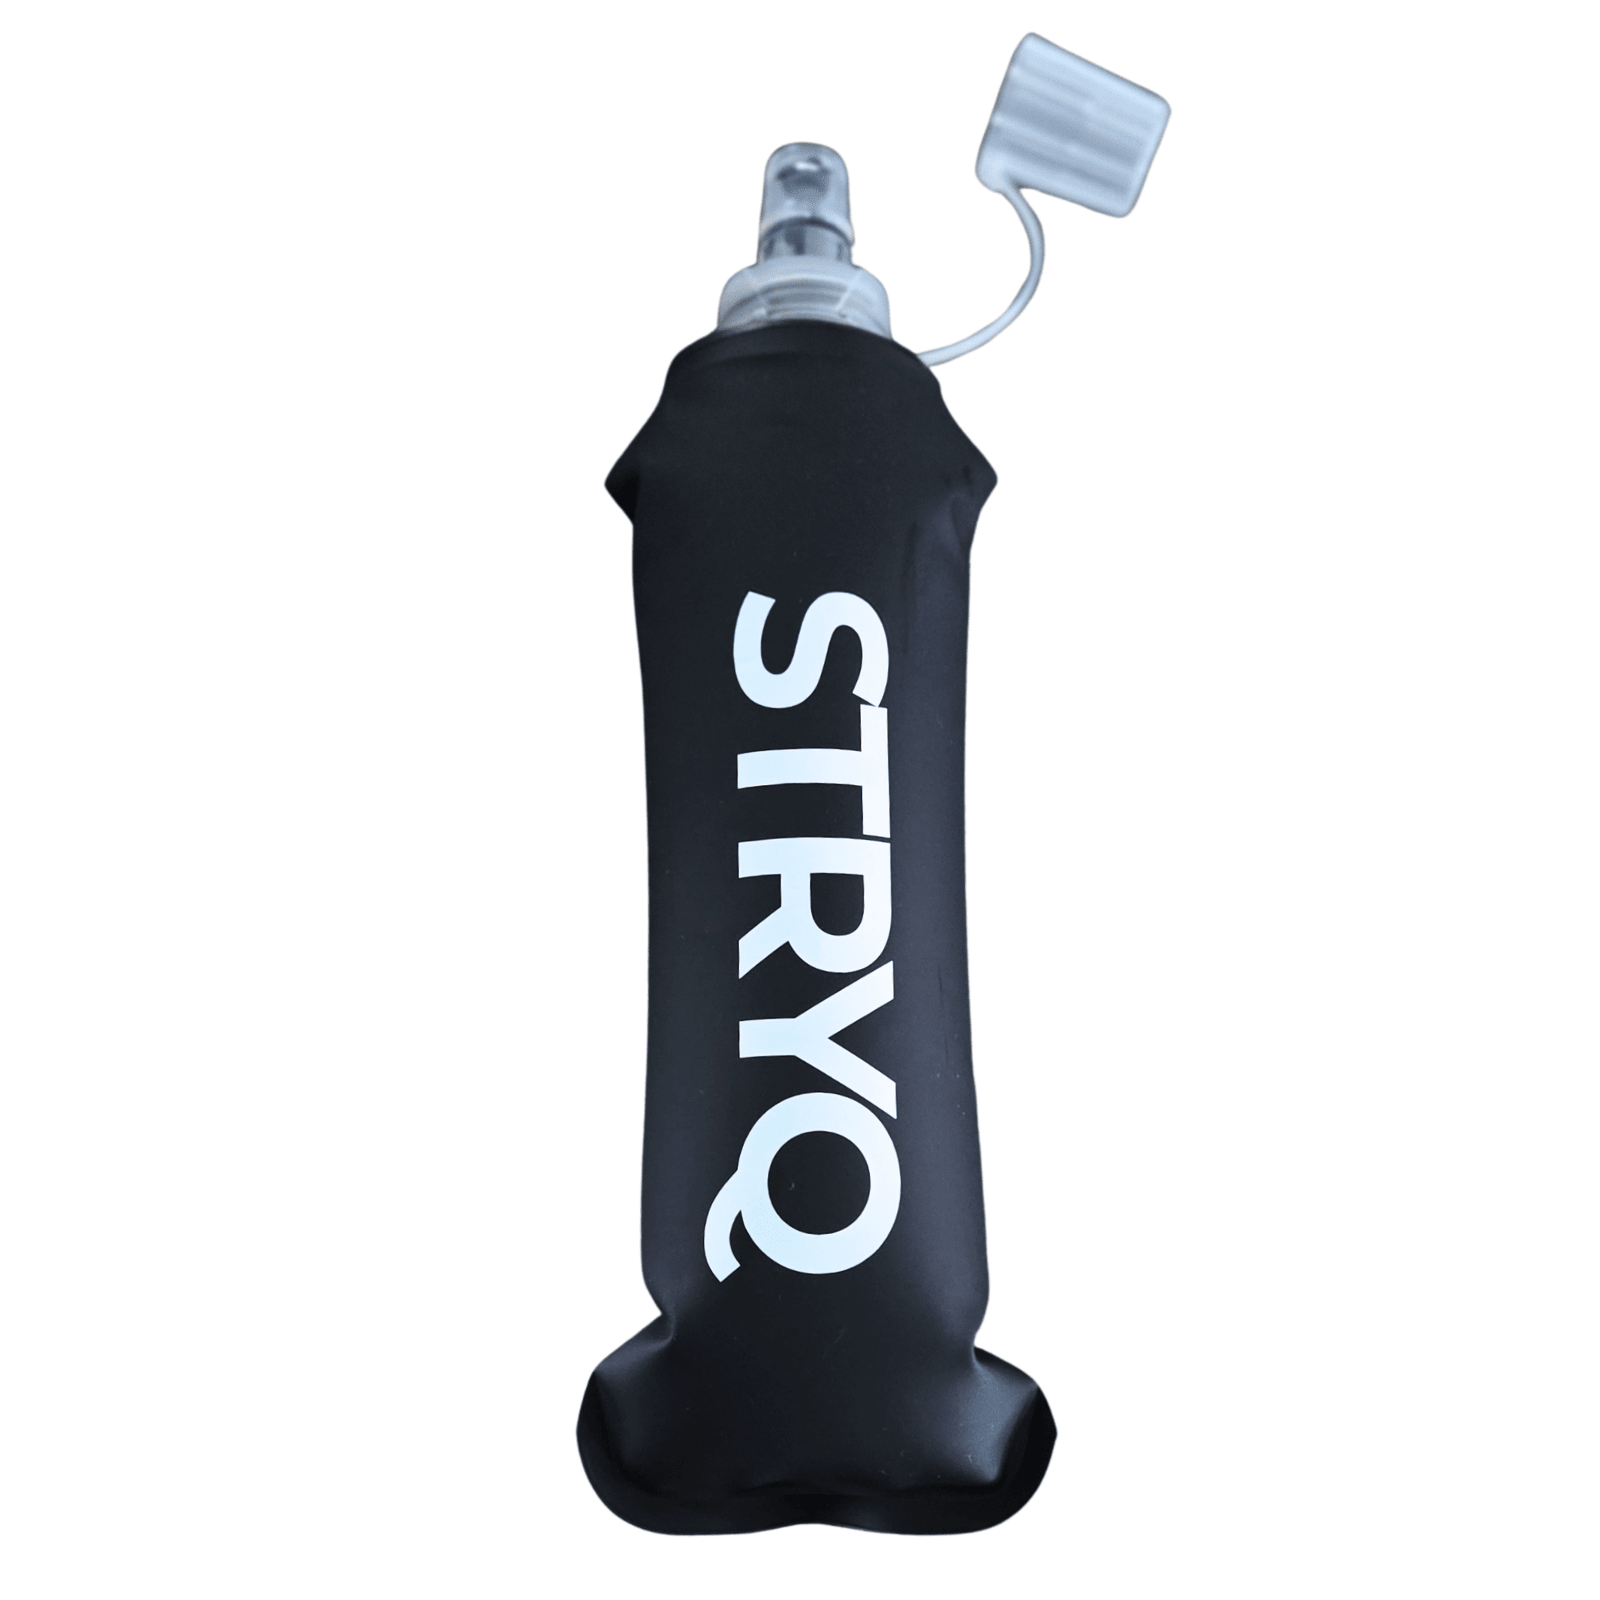
Short runs (under 2 hours): one soft flask (500ml to 600ml), a gel, your phone, and a house key. Nothing else earns its space.
Long training runs: 1 to 2 litres of fluid depending on heat and how far you’ll be from a refill, two to three gels or a bar, a lightweight layer, and a spare strap or multi-tool in case something fails mid-run.
Race day: everything above, plus mandatory kit if the event demands it. Whistle, basic first-aid, phone, and a spare bite valve if you’re running a bladder. Ultra nutrition guidance from Alex Larson makes the point well: plan hydration and fuelling together, not as two separate problems, and rehearse the pack in training so race day holds no surprises.
Pocket-by-pocket layout: exactly where to put everything and why
Front pockets exist for one reason: speed. Anything you’d otherwise have to stop and dig for belongs there. iRunFar’s testing is clear that front pockets are for items you need while moving, and rear pockets and bladder sleeves are for bulk you can afford to forget about until you need it.
Here’s the breakdown that works across most vests, Stryq’s included:
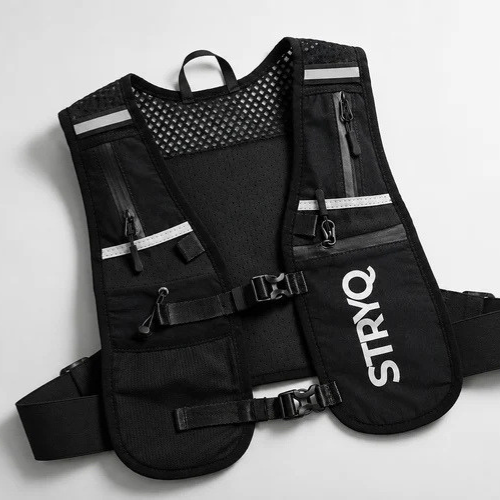
- Chest pockets: soft flasks, quick snacks, lip balm, small navigation aids, phone.
- Sternum area: anything you might grab without breaking stride, like a gel or hand sanitiser.
- Lower front and side pockets: occasional-use items such as spare gloves or a hat.
- Back compartment: the bladder, spare jacket, first-aid kit, and anything heavy or bulky.
Weight distribution guidance from CleverHiker backs the logic behind that last point: heavier items sit close to your back to keep your centre of gravity stable, not swinging around in front where it fights your stride. A pocket layout guide can help you map this out against your own vest’s specific pocket count.
Pro Tip: Keep front pockets deliberately light and compress the rear load. Bounce almost always comes from an overstuffed front, not the bladder.
Chest flasks versus back bladder: which should you carry?
Flasks win for anything under about two hours, where you know roughly how much you’ll drink and want fast, visual access to how much is left. A bladder wins once you’re carrying more than a litre or running somewhere refills are scarce, because total capacity matters more than convenience.
The trade-offs, side by side:
- Capacity: flasks max out around 500 to 600ml each; bladders run 1.5 to 3 litres.
- Refill speed: flasks refill in seconds at any tap; bladders need removal or a hose connection.
- Sloshing: a half-empty bladder moves around on descents; flasks barely shift.
- Fit and ventilation: a bladder against your back traps heat; chest flasks leave your back panel breathable.
Plenty of the best-tested vests now combine both, using chest flasks for immediate access alongside a bladder for reserve capacity, according to iRunFar’s vest reviews. A comparison of vests versus belts is worth reading if you’re still deciding whether you need a vest at all.
Pro Tip: Route your bladder tube through the shoulder portal and fit quick-disconnect tubing so you can swap or refill the reservoir without pulling the whole hose out, a trick REI recommends for exactly this reason.
How do you stop a hydration vest from bouncing?
A correctly adjusted vest removes most bounce before you’ve even touched a compression strap. Bounce is usually a fit problem wearing a disguise as a packing problem.
- Check torso length first. A vest sitting too low or high on your back will bounce no matter how you pack it.
- Tighten sternum and hip straps snug, not crushing, before adding anything heavy.
- Load the vest, then tighten incrementally, testing after each adjustment rather than cranking everything at once.
- Add compression straps last, once the main straps are set, to lock down any remaining movement.
OutdoorGearLab’s testing found that stretch-fit and strap-adjustable packs behave differently once partially full, so retest your straps as your flasks empty over a long run. A dedicated guide to fitting without bounce covers this in more depth if bounce has been a recurring issue.
Pro Tip: Load the vest to racing weight and run a few short intervals before finalising your straps. Fit that feels right standing still often loosens the moment you pick up pace.
Refill and race-day strategies: how to top up without losing time
The runners who lose the least time at aid stations plan the swap before the race, not during it. Two habits make the biggest difference:
- Run a hybrid system. Small front flasks for the miles between stations, plus a partially filled bladder as backup, so you’re never fully dependent on one method.
- Practise the refill in training. Know exactly how your quick-disconnect tubing detaches, so you can leave the tube routed in place and swap only the reservoir, a method REI details clearly.
Weather changes the maths too. In cold conditions, insulate the tube or blow air back through it after drinking to stop it freezing. In heat, run your electrolyte mix slightly more concentrated in flasks and dilute at aid stations, rather than trying to carry a full day’s fluid from the start.
Cleaning, drying and storing bladders and soft flasks
Dry and air out your reservoir immediately after every run. A damp bladder left zipped in a bag is how mould starts, usually within a day or two in warm conditions.
- Empty and rinse the bladder with plain water.
- Disassemble the bite valve fully.
- Hand-wash with warm, soapy water or a mild cleaning tablet.
- Air dry inverted, with the opening propped wide.
- Store open, in a cool place, never sealed while damp.
Alex Larson’s maintenance advice adds a detail many runners skip: rinse reservoirs after any run using electrolyte drinks, since sugar and salt residue is what actually feeds mould growth.
- Inspect seals and bite valves monthly for cracks.
- Replace bite valves once they feel soft or split.
- Rotate between two soft flasks if you run most days, to let each one dry fully.
Common hydration vest problems and quick fixes
Most on-run hydration issues trace back to one of three causes, and all three are fixable in under a minute once you know what you’re looking for.
- Loose sternum strap: retension from the bottom strap up, not the top down, or it’ll keep slipping.
- Leaking bite valve: check it’s seated fully in its housing before assuming it needs replacing.
- Sloshing bladder: fill it only as full as the run demands and compress the rear pocket around it.
A common mistake worth naming directly: stuffing front pockets until they bulge, or storing heavy items high on the chest “for balance.” Both do the opposite of what you’d expect, dragging the vest forward and making it work against your stride.
Pro Tip: Tuck any slack tubing under a chest strap rather than letting it dangle. Loose tubing catches on branches, gates, and your own arm swing far more often than runners expect.
What testing 70+ vests actually teaches you about packing
Testing many vests exposes a pattern quickly: the vests that felt “race ready” were not necessarily those with the most pockets, but rather those where pocket layout stayed consistent under load. Fit adjustments contributed more to comfort than hydration features, and quick-disconnect tubing was a notably useful detail because most runners only realize its value when fumbling with a hose mid-race.
Stryq’s own product testing follows the same principle: build around how runners actually behave at mile 20, not how a vest looks empty on a shelf.
Ready to sort your hydration vest kit? Here’s where to start
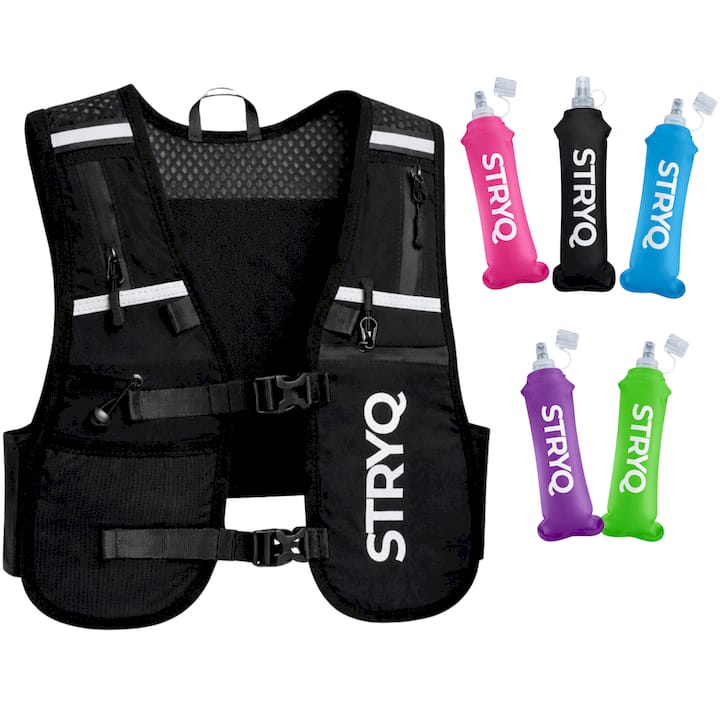
Once your pocket system is sorted, the gear you’re putting into it matters just as much. Stryq’s soft flasks are built for exactly the chest-pocket access this guide covers, giving you fast visual reads on how much you’ve drunk without breaking stride.

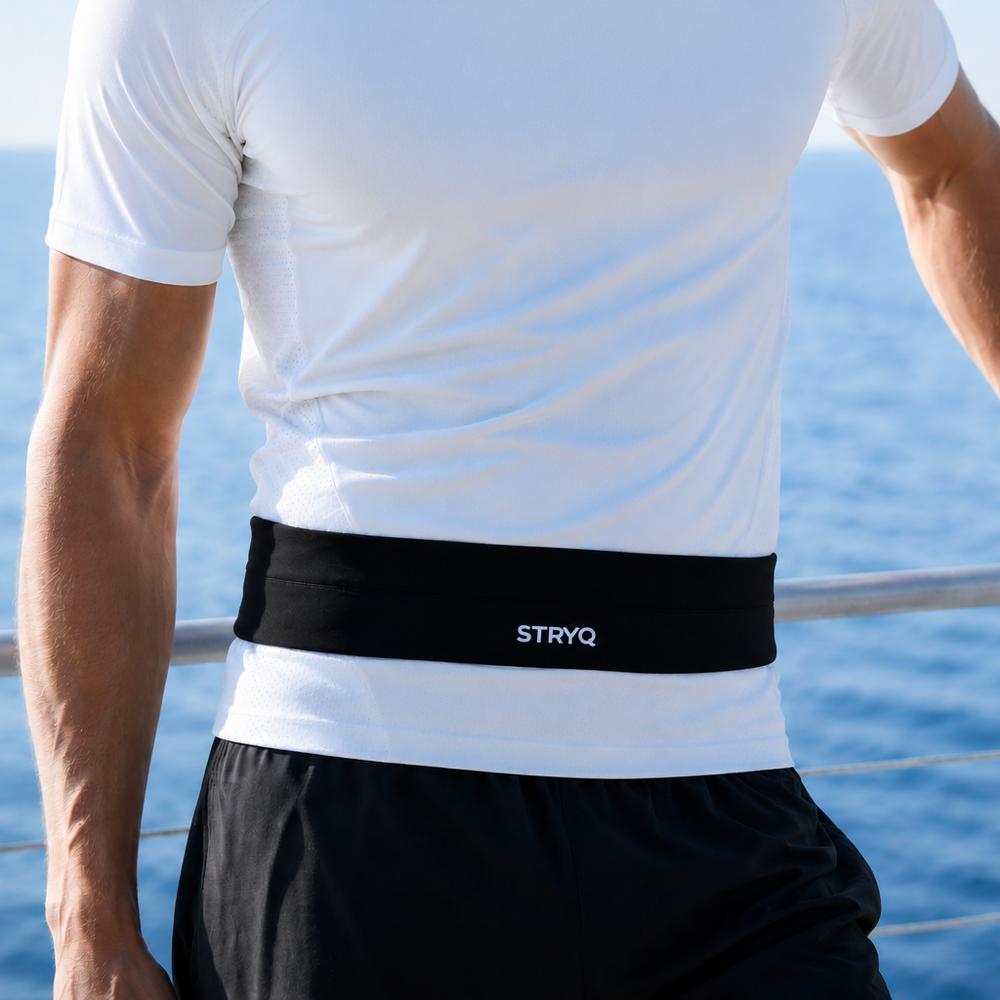
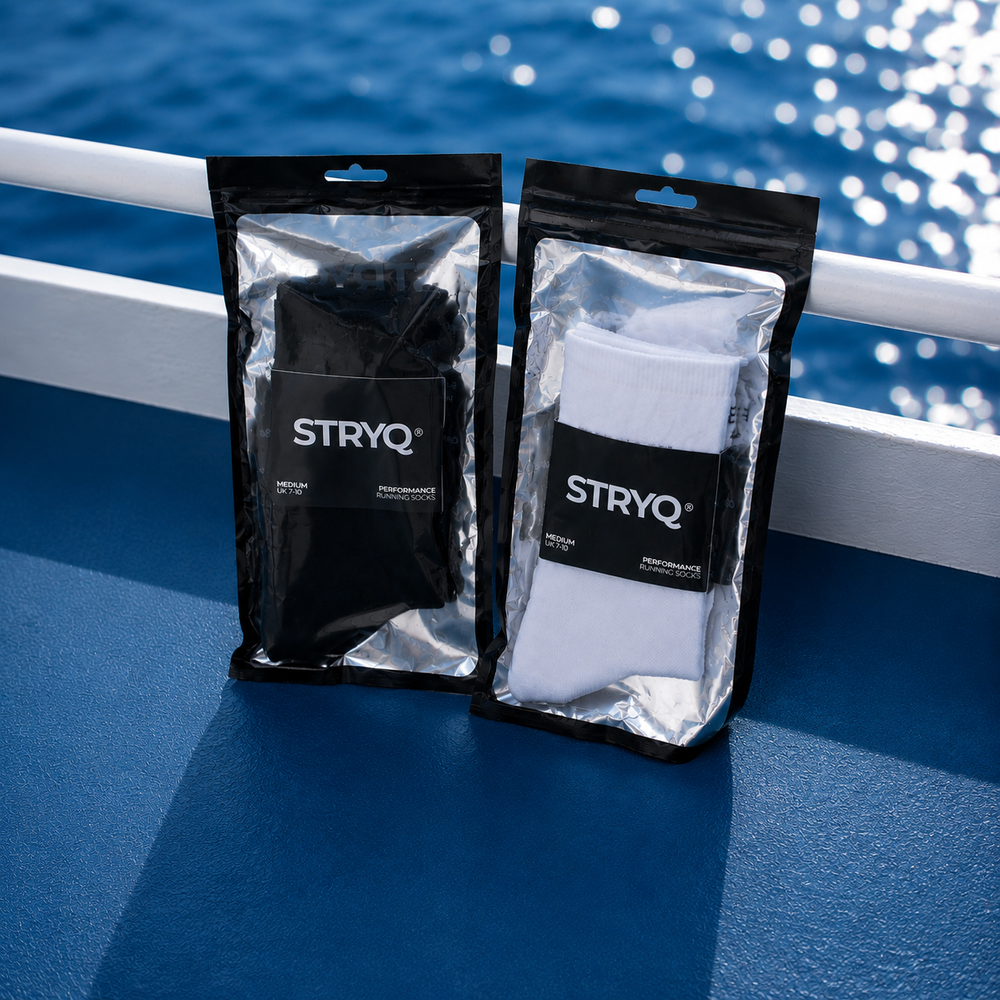
For shorter training runs where a full vest feels like overkill, a running belt keeps the same quick-access principle without the extra bulk. And whatever you’re carrying up top, what’s happening at your feet matters over distance. STRYQ Running Socks in Black or White add arch support and cushioning that make the difference on the long runs where your pack organisation actually gets tested. Browse the full running socks range and get your kit sorted before your next long run.
Sources
- Hydration packs: how to choose | REI expert advice
- Best hydration pack for running | OutdoorGearLab
- Best running vests | iRunFar
- Best hydration packs | CleverHiker
- Ultra running nutrition: the best hydration vest packing guide | Alex Larson Nutrition