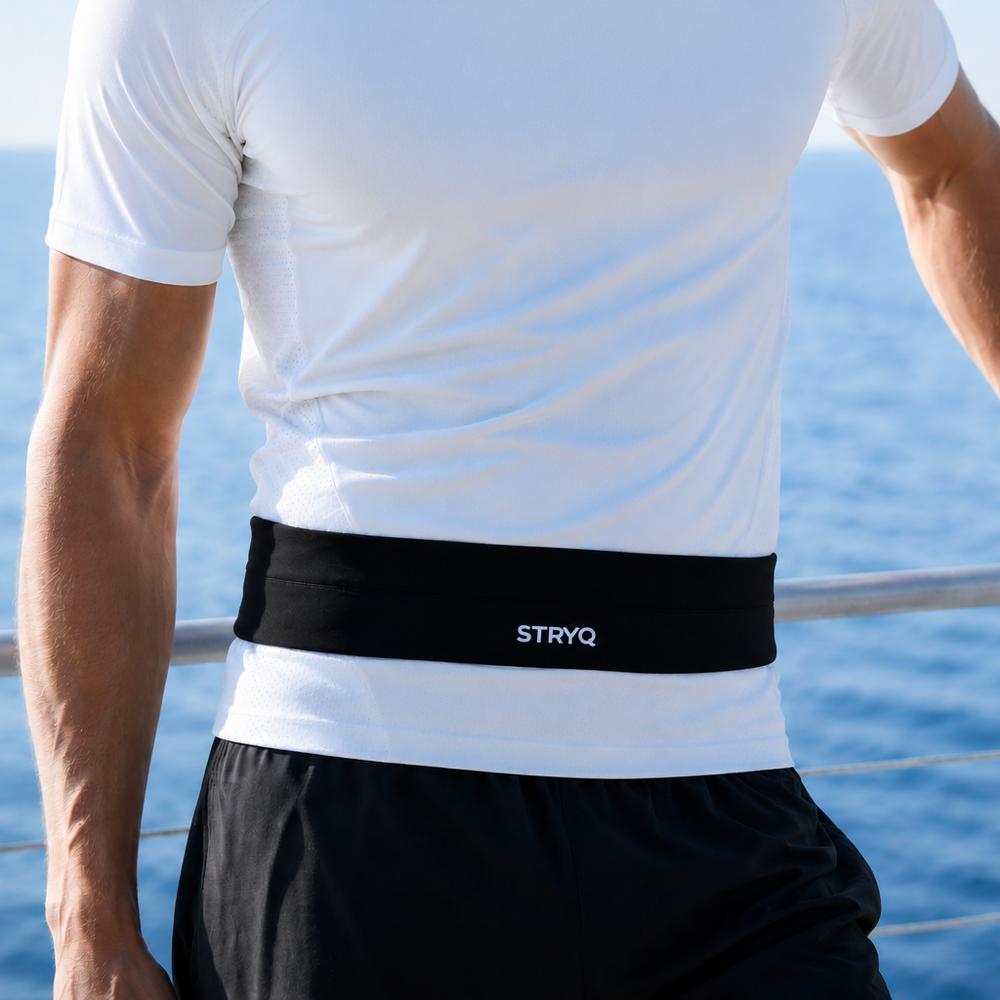
Anchor the belt low on your hip bones rather than your natural waist, take up any slack until it sits snug with two fingers still fitting under the strap, and centre your phone flat against your back or front. The pelvis gives the band a stable, bony shelf to grip instead of soft tissue that shifts, and centring the heaviest item stops the sideways torque that causes rotation. Fix these two things first before you touch anything else.
TL;DR:
- Proper belt positioning on the hips and centering heavy items reduce movement caused by imbalance or improper fit.
- Diagnosing specific bounce types through short runs helps identify whether tension, position, packing, or gear is the main issue.
- Tighten the belt incrementally with two fingers snugly under the strap, avoiding discomfort or restricted circulation.
- Using divided pockets and central placement for heavy items prevents internal knocking caused by shifting contents.
- Belt failure often results from elastic fatigue or incorrect size, making replacement or using a hydration vest necessary for heavier loads.
Table of Contents
- Diagnose the movement: is it vertical bounce, ride-up, rotation, or internal knock?
- How to set working tension without over-tightening
- Where to wear the belt: hips vs natural waist
- Smart packing: centre heavy items and stop internal movement
- A reproducible five-minute setup and field test
- When adjustments won’t fix it: replace the belt or switch to a hydration vest
- Stryq testing insights you can copy
- Author perspective: trade-offs and race day sanity checks
- How the Stryq running belt addresses bounce
- Sources
- FAQ
Diagnose the movement: is it vertical bounce, ride-up, rotation, or internal knock?
Not every bounce has the same cause, and treating the wrong symptom wastes a run. Field-facing troubleshooting guides recommend naming the exact movement before changing anything, then adjusting one variable at a time and repeating a short jog to check the result. That single habit saves more frustration than any product swap.
There are four common failure modes, and each needs a different fix:
- Vertical bounce. The whole belt lifts and drops with every stride, usually because it’s too loose overall. Test it by jogging on the spot for 20 seconds; if the band jumps visibly, tension is the culprit.
- Ride-up. The belt climbs towards your ribs during a run, typically from wearing it too high or from a strap that isn’t anchored on bone. Walk for 30 seconds and watch where it settles.
- Rotation. The buckle or pockets slide round to your hip or side, almost always caused by uneven weight distribution. Load the belt, then turn sharply left and right; if it spins, one side is heavier than the other.
- Internal knock. The band itself stays put, but you feel the phone or gel packet thudding inside the pocket. Squeeze the loaded pocket by hand. If the band doesn’t move but the contents shift, this is a packing problem, not a fit problem.
Each of these points to a specific remedy. Vertical bounce needs tighter working tension. Ride-up needs repositioning onto the iliac crest. Rotation needs rebalanced packing. Internal knock needs a tighter case or a smaller pocket, not a tighter belt.
Once you’ve named the movement, confirm it with a short run rather than guessing from the walk test alone. Run 200 to 300 metres at your usual pace, including one turn and a few strides of faster cadence. Load carriage research from Stanford’s Neuromuscular Biomechanics Lab shows that where weight sits on the body changes gait forces and trunk motion, which is exactly why a belt that feels fine standing still can misbehave the moment your stride opens up. Diagnosing correctly here saves you from tightening a belt that was never loose, or repacking one that was never unbalanced.
How to set working tension without over-tightening
Getting tension right is less about brute force and more about small, testable steps. Fasten the belt on your hips, then slide two fingers flat under the strap. If they fit snugly with slight resistance, you’re close. If they slide in with room to spare, you’re too loose; if you can barely get one finger under, you’re too tight and circulation or breathing may suffer on a longer run.
Work through tension in small increments rather than cranking it tight in one go:
- Fasten the belt at what feels like a reasonable starting tension.
- Run the same 30 to 60 second jog test used in the diagnostic section above.
- If it still bounces, tighten by roughly one hole or one centimetre of strap, no more.
- Repeat the test. Stop adjusting the moment the bounce disappears.
- Note that tension, since going tighter from here gives no extra benefit and only adds discomfort.
Signs you’ve gone too far include a red line or indentation on your skin after a short run, shallow breathing, or numbness anywhere near the strap. None of that is necessary. A belt anchored correctly on the pelvis rarely needs to be painfully tight to stay put, because the bone does the holding, not the pressure.
Fabric matters here too. Slick technical tights or a smooth base layer let the strap creep, so you may need one extra increment of tension compared with textured leggings or shorts, which grip the webbing naturally.
Pro Tip: Do your tension test with the belt fully loaded, not empty. An empty belt sits differently on the body, and adding weight afterwards almost always changes what “snug” actually feels like.
Where to wear the belt: hips vs natural waist
The pelvis works as an anchor because it’s bone, not soft tissue that compresses and shifts with each stride. Sitting the belt on the iliac crest, the bony points at the top of your hips, gives the strap something rigid to sit against. Your natural waist, by contrast, is mostly muscle and fat that moves independently of your skeleton, which is why a belt worn there tends to slide even when the strap feels tight.
The best way to find your ideal height is a direct comparison, not a guess:
- Run a 400 metre loop with the belt at your natural waist, loaded as you normally would.
- Rate the bounce out of 10, then rest for a minute.
- Move the belt down onto your hip bones and repeat the same loop at the same effort.
- Compare the two scores honestly. Most runners find the hip position wins outright, though runners with a shorter torso sometimes prefer a slightly higher point just below the ribs.
Buckle placement matters as much as height. Keep the buckle off your spine and away from any bony point at the front, since pressure there becomes uncomfortable within a few kilometres. Tuck loose strap tails through the loop provided or tape them down if the belt doesn’t include one, because a flapping tail adds its own small bounce that’s easy to mistake for a bigger fit problem.
Smart packing: centre heavy items and stop internal movement
Packing badly undoes good fit work almost instantly. A phone stuffed to one side turns your belt into a lever, and every stride encourages it to rotate towards that heavier corner. Stanford’s research on load carriage confirms that carrying weight off-centre changes gait forces and trunk motion, which is the biomechanical reason a lopsided belt always seems to twist no matter how tight you make it.
- Put your heaviest single item, usually the phone, in the central pocket and press it flat against your back or front, not angled or bunched.
- Split smaller items such as keys and a gel across pockets on either side rather than piling them all in one, so the small torques cancel each other out.
- If a pocket is oversized for your phone, pad the gap with a spare gel wrapper or switch to a slimmer case; loose space inside a pocket is what causes internal knock even when the band itself is stable.
- Leave anything non-essential at home. Every extra item is another chance for something to shift.
Test the phone in its normal case, not bare, since a bulky case behaves differently to a slim one in the same pocket.
Pro Tip: If you feel knocking but the band itself stays completely still when you check it by hand, the problem is inside the pocket, not the belt. Fix the packing before you touch the strap again.
A reproducible five-minute setup and field test
Confirming a fix takes far less time than most runners assume, and skipping this step is why so many “fixes” turn out not to work on the next run.
- Load the belt exactly as you would for a real run, phone, keys, gel, all of it.
- Smooth the strap and any clothing layer underneath it so nothing is twisted or bunched.
- Fasten at your chosen tension and hip position, then tighten by one small increment if the last run showed any bounce.
- Jog on the spot for 20 to 30 seconds and watch for vertical lift.
- Run a straight 100 metre stretch at normal pace.
- Take one sharp turn and check for rotation.
- Finish with a short downhill section if one’s available, since downhill running exposes instability that flat ground hides.
If the belt passes all five checks, you’ve found your setup. If it fails at the turn but not on the straight, you’re looking at a rotation problem from packing, not tension. If it fails only downhill, the issue is usually vertical bounce needing one more small increment of tightness.
Once you land on a setup that works, write down the hole number or strap length you used. It sounds unnecessary until you’ve re-tightened a belt from memory three weeks running and never quite matched the good result.
When adjustments won’t fix it: replace the belt or switch to a hydration vest
Sometimes the belt itself is the problem, not your technique. Stretched-out elastic that no longer returns to shape, a buckle that slips under load, or a band that’s simply the wrong size for your hips will undermine even perfect packing and positioning.
- Check for permanent stretch by comparing the belt unloaded now against how it fit when new; if it’s noticeably looser at the same hole, the elastic has fatigued.
- A belt that needs the tightest setting just to stay vaguely in place, with no room left to tighten further, is undersized or worn out.
- If you’re regularly carrying more than a phone, gel, and small flask, a narrow waistband is fighting a losing battle. Research comparing belts and vests found that a vest alters trunk mechanics less than a heavy waistband, because it spreads load across the chest and shoulders instead of concentrating it on one narrow band around the hips.
A simple way to decide: if you can pass the five-minute test above with a properly fitted belt, stick with the belt. If you’re adding a second flask, extra layers for winter runs, or race nutrition for anything beyond 10K, look at a hydration vest built for heavier loads instead of forcing more weight into a design that was never meant to carry it.
Stryq testing insights you can copy
Stryq develops running belts by testing prototypes across a genuine spread of body shapes and running styles, not just on one test runner’s ideal frame. That’s where several of the checks above actually came from.
- Fit range testing across different hip shapes and torso lengths, to make sure the “two-finger” tension rule holds up for more than one body type.
- Pocket clearance testing, loading each pocket with a phone in a case and checking for shift during a jog, not just a static hang test.
- Turn and downhill checks, run repeatedly, because a belt that looks stable on a flat straight can still fail the moment cadence increases or the terrain changes.
You can run a simplified version of the same protocol at home with nothing more than a stopwatch and a stretch of pavement: load, tighten, jog on the spot, run straight, turn, then downhill. Prototype load-carriage research backs the underlying principle here, showing that moving weight closer to the torso and transferring it towards the hips reduces oscillation compared with a load left to hang loosely off one point. That’s the mechanical reason a well-fitted, well-packed belt sits still while a poorly loaded one never does, no matter how many times you retighten it.
Author perspective: trade-offs and race day sanity checks
A little movement is normal. What you’re chasing isn’t a belt that feels welded to your body, it’s one that stays quiet enough that you forget it’s there by kilometre three. If you’re still consciously registering bounce on every stride, that’s the movement worth fixing before race day, not tolerating.
On race morning, run your five-minute test one final time with your actual race-day layers and nutrition loaded, tuck every strap tail away, and apply anti-chafe balm anywhere the belt sits against skin. Never try a belt you haven’t run in before on race morning itself. Unfamiliar kit under race adrenaline has a habit of revealing problems you’d never notice on a routine training run.
— martin
How the Stryq running belt addresses bounce
Stryq built its running belt around the exact failure modes covered above: a wide, flat band that resists rolling on the hip bones, divided pockets that let you separate a phone from keys and gels instead of piling everything into one corner, and a low-profile phone sleeve designed to hold a cased phone flat rather than loose.
Buying one is simple. Measure around your hips at the iliac crest, not your natural waist, and choose your size against that measurement rather than your usual clothing size. Once it arrives, run the same five-minute setup test from this article before your first proper outing, load it exactly as you would for a real run, jog, straight run, turn, downhill, and note the tension that passes clean.
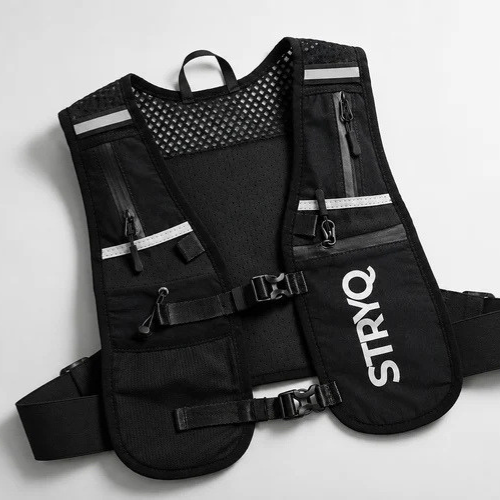
If you’re weighing up a belt against a hydration vest for longer runs, the Stryq hydration vest sits in the same range and follows the same fit logic, spreading load rather than concentrating it. Runners adding extra hydration to either setup often pair it with the Stryq 500ml soft flask, and if chafing at the ankle or blisters are part of your problem too, Stryq running socks address a different but related comfort issue on longer efforts. The Stryq running belt is priced at £32, one-off. Measure up, pick your size, and run the setup test before your next session.

Sources
The guidance above draws on published load-carriage research rather than guesswork, and it’s worth reading the source material if you want the full biomechanical detail.
- Forces at the feet, gait timing, and trunk flexion/extension excursion while walking with a gear belt or gear vest load
- Load carriage and its effects on gait (Stanford NMBL publication)
- Running belt keeps bouncing? Fix it fast
FAQ
How do I keep a running belt from bouncing?
Anchor it on your hip bones rather than your natural waist, tighten it in small increments until two fingers fit snugly under the strap, and centre your heaviest item so the load doesn’t pull to one side. Confirm the fix with a short jog that includes a turn and, ideally, a downhill stretch.
What is the best running belt that doesn’t bounce?
Look for a wide, flat band with divided pockets that let you separate heavy items instead of piling them together, plus a snug low-profile sleeve for your phone. The Stryq running belt is built around exactly these features and costs £32.
How do I stop a treadmill belt from moving?
That’s a different problem entirely. Treadmill belt slipping is usually caused by drive-belt tension, lubrication, or alignment issues on the machine itself, not by how you’re wearing anything, so it needs a mechanical adjustment rather than a fit fix.
How do I tighten a running waist belt?
Fasten it, slide two fingers under the strap, and tighten by small increments, roughly one hole or one centimetre at a time, retesting with a short jog after each change. Stop as soon as the bounce disappears rather than continuing to tighten for extra security.
Why does my phone knock around even when the belt feels tight?
That’s usually an internal clearance problem, not a tension problem. An oversized pocket or a loose phone case lets the phone move independently of a perfectly stable band, so pad the gap, switch to a slimmer case, or choose a pocket sized closer to your phone.