A running vest should fit like a second skin, snug enough to eliminate bounce but never so tight it restricts your breathing. Get there by measuring your chest against the size chart, loading the vest with what you’ll actually carry, then working through the strap adjustment sequence below before you commit to a long run.
TL;DR:
- A well-fitting vest should sit high on the ribcage, move with your torso, and be snug but not restricting, especially when loaded for your run type.
- Measuring your chest over a running top and choosing the smaller size for speedwork or layering up is key for optimal fit across different activities.
- Load the vest with your intended gear before adjusting straps, and fine-tune the fit by tightening side cords and repositioning the sternum strap for a bounce-free, comfortable experience.
- Distribute weight evenly between front soft flasks and rear ballast to maintain balance, with capacity scaling from under an hour to ultramarathon distances.
- Continuous adjustment during a run, especially after 30-40 minutes, helps maintain a bounce-free, chafe-free fit that adapts to your expanding ribcage and gear shifts.
Table of Contents
- What does a proper running vest fit feel like?
- How do I measure myself for the right vest size?
- How do you adjust the straps for a no-bounce fit?
- Soft flasks or a rear bladder: how should you pack the load?
- Do women’s cuts and body shape change the fit?
- Why does my vest still bounce, ride up or chafe?
- How do you test a vest before committing to it?
- How does Stryq test fit before a vest ever ships?
- What I learned refitting a bouncing vest mid-run
- Get the STRYQ fit right from the first run
- Sources
What does a proper running vest fit feel like?
A well-fitted vest sits high on the ribcage, clears your collarbone, and moves with your torso rather than against it. You shouldn’t feel the front pockets swinging when you glance down mid-stride, and there should be no gap you could slide a flat hand behind at the small of your back. Manufacturer sizing guidance and a loaded fit test remain the two most reliable checks before you ever hit the trail.
The feel you’re after changes slightly depending on what you’re running. On road speed sessions, you want the tightest, most compressed fit you can tolerate, since every gram of bounce costs you rhythm at pace. On long training runs, you’ll loosen things fractionally to allow for breathing under sustained effort and for your ribcage to expand as fatigue builds. On trail or ultra outings, stability across uneven ground matters more than outright compression, so the priority shifts to keeping pockets locked down rather than squeezing the chest panel flat.
Signs your fit is off include:
- Visible vertical movement in the mirror when you jog on the spot
- Red pressure lines on your shoulders or ribs after ten minutes
- A tightness across the chest that makes deep breathing feel effortful
- Straps that keep needing a retightening mid-run because they’ve slipped
How do I measure myself for the right vest size?
Take your chest measurement over a running top, not bare skin, since that’s the layer you’ll actually wear underneath. Run the tape around the fullest part of your chest, roughly nipple height, keeping it level front to back rather than letting it dip. This single number is what most brands use to build their size charts, and it’s the measurement to trust over your usual clothing size, which varies wildly between manufacturers.
- Wrap a soft tape measure around your ribcage at the widest point, snug but not compressed.
- Note the figure in centimetres and cross-reference it against the specific vest’s chart, not a generic sizing table.
- If you fall between two sizes, use a decision matrix: choose the smaller size for light loads and speed work, and the larger size when you’ll be layering up or carrying heavier gear.
- Before buying, check that the vest’s strap adjustment range sits comfortably mid-way rather than maxed out at either extreme, since that gives you room to fine-tune in both directions later.
Sizing by chest or ribcage measurement, loading the vest, and then working through the strap sequence is the best-practice fit routine most experienced fitters recommend, and it applies whether you’re buying your first vest or your fifth.
Pro Tip: If you’re torn between two sizes and mostly run in a T-shirt, size down. If you regularly layer a jacket or gilet over the top for winter miles, size up and rely on the cinches to close the gap in summer.
How do you adjust the straps for a no-bounce fit?
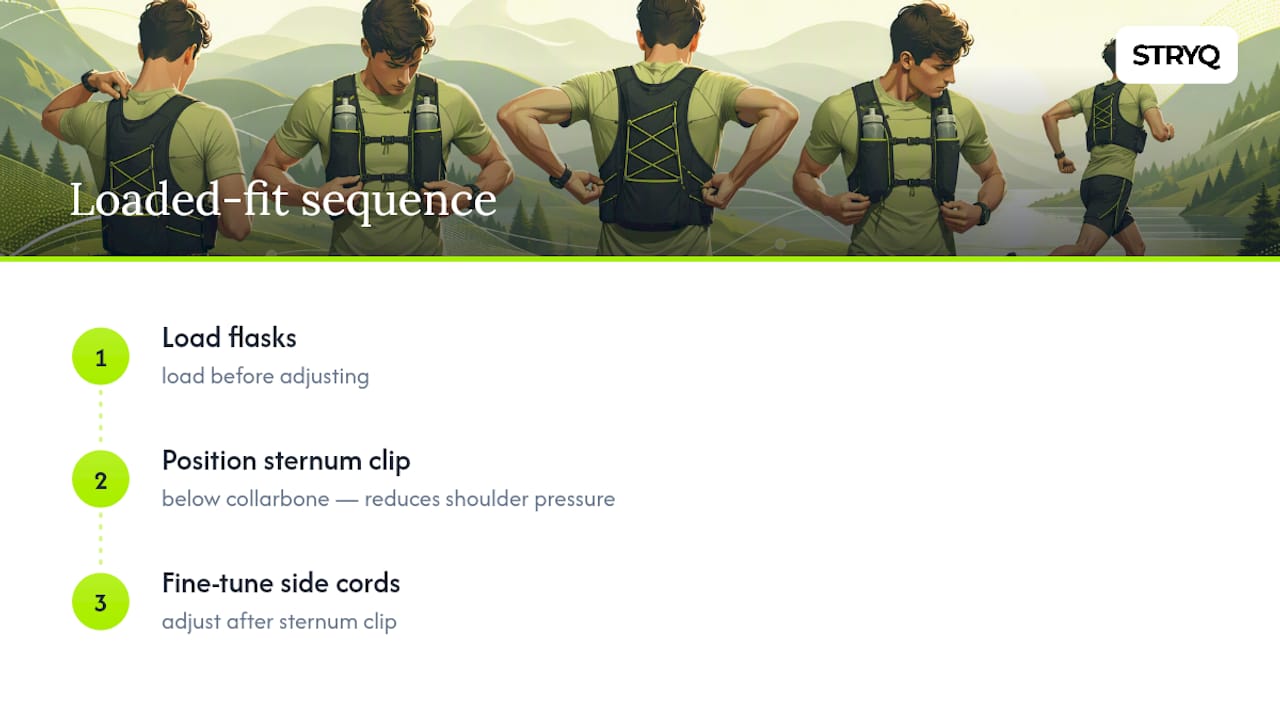
Load the vest exactly as you intend to run in it before you touch a single strap. An empty vest and a race-ready vest carrying two soft flasks and a phone behave completely differently, and fitters consistently point to this as the step most runners skip.
- Tighten the side or rib cords first, pulling evenly on both sides until the vest hugs your ribcage without pinching.
- Flatten the rear panel next, smoothing out any bunching so the pack sits flush against your back.
- Close the sternum clip or chest strap, adjusting its height so it sits below the collarbone rather than across your throat.
- Fine-tune the lower cinches last, taking up any remaining slack around the waist.
Once adjusted, do a dynamic check: take a few deep breaths, jog on the spot, twist your torso, and reach overhead as if grabbing a flask. Anything that shifts, digs in, or restricts your breathing needs another pass.
Pro Tip: Over-tightening the sternum strap is the single most common mistake. If it feels restrictive within the first two minutes, it will feel unbearable by minute forty. Loosen it a notch and let the side cords do more of the work.
Soft flasks or a rear bladder: how should you pack the load?
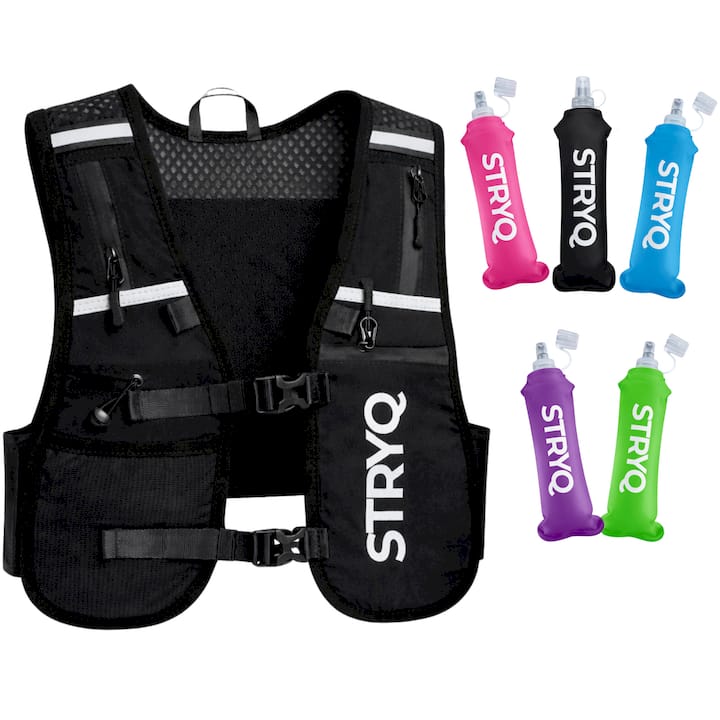
Front soft flasks compress as you drink, which keeps slosh and bounce to a minimum, making them the better choice for anything under two or three hours. A rear bladder increases your total carrying volume but shifts your centre of gravity backwards, so it demands more careful cinching to stop it swaying with each stride.
Balance matters as much as choice. An uneven pack, heavy on one side or all loaded at the front, pulls you off your natural gait and creates the kind of asymmetric strain that leads to sore shoulders later in the run. Distributing weight evenly across both front pockets and matching that with rear ballast keeps the vest centred and quiet.
- Under 1 hour: one soft flask, phone, and gels; skip the rear bladder entirely.
- 1 to 3 hours: two front soft flasks plus a light layer in the rear pocket.
- Ultramarathons: a rear bladder or larger reservoir for volume, supplemented by front flasks for quick access.
Capacity should scale with distance too. Guides generally recommend around 2 litres for one to two hour efforts, 4 to 6 litres for longer training runs, and 8 to 12 litres for ultras or self-supported outings.
Do women’s cuts and body shape change the fit?
Women’s-specific vests aren’t a marketing gimmick. Changing the strap angle and reshaping the front panel to sit around the chest contour rather than straight across genuinely improves comfort for many runners, particularly around chafing under the arms and pressure across the bust.
Torso length and shoulder width matter just as much as gender. A shorter torso often means the rear panel needs shortening or the lower cinches pulled tighter to stop the pack rising with each stride, while broader shoulders benefit from wider strap contact to spread load rather than dig in.
- Reposition the sternum pad lower if it presses against a narrower chest.
- Angle the shoulder straps inward slightly on a smaller frame to stop them slipping outward.
- Try a women’s-specific model if you’ve adjusted a unisex vest repeatedly and still feel pressure points; sometimes the panel geometry, not the strap tension, is the real problem.
For readers building out a shortlist, our guide to lightweight running vests for women covers cut differences in more depth.
Why does my vest still bounce, ride up or chafe?
Most complaints blamed on fabric or seams are actually movement problems traceable back to fit and packing, which means the fix is almost always adjustment, not a different vest entirely.
- Bounce: re-check your size against the chart, tighten the side cinches further, and rebalance any lopsided pocket load.
- Riding up: measure your torso length against the vest’s specification and pull the lower wrap tighter; a persistently rising vest often signals the wrong torso length rather than a strap problem.
- Sore shoulders: shift heavier items off the shoulder straps and into the lower back or hip area, and widen the strap contact where possible.
- Restricted breathing: loosen the front straps by a notch and redistribute weight so the chest panel isn’t bearing the load alone.
Pro Tip: Chafing almost always shows up where two panels overlap or where a strap crosses a seam. Before assuming you need body glide or tape, check whether tightening that specific strap by a notch removes the friction point entirely.
How do you test a vest before committing to it?
Load the vest to match your planned use, whether that’s a race-day loadout or a typical long run, then run easy for ten minutes before adding a few tempo minutes to see how it holds under harder effort. Practise drinking from your flasks and reaching for pockets while moving, since that’s the real test most shop try-ons never cover.
- Run 10 minutes easy, monitoring for any early bounce or rubbing.
- Add 3 to 5 tempo minutes to check the fit holds under faster turnover.
- Reach for a flask and take a drink without breaking stride.
- Assess after 20 to 30 minutes: any hot spots, movement on turns, or lingering pressure means further adjustment or a different size.
Expert roundups consistently flag real-world testing as the deciding factor in vest comfort, more than any single spec on a product page. If the straps are already at their extremes with no room left to tighten or loosen, or a pressure point persists after multiple adjustment attempts, that’s a genuine return or exchange situation rather than something you can fix with fiddling.
How does Stryq test fit before a vest ever ships?
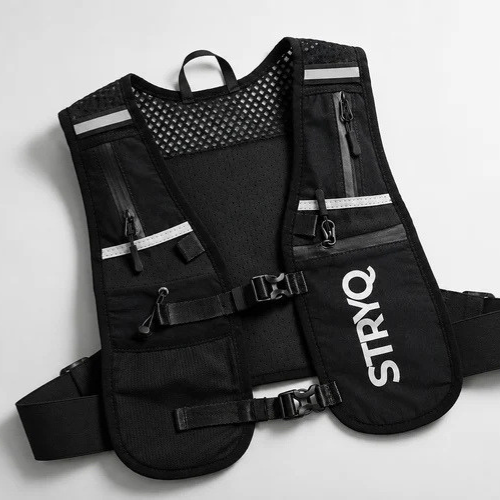
Every vest goes through multiple sample revisions and testing with real UK runners before it reaches production, not just a single prototype signed off by committee. That feedback loop is why the adjustable strap system, pocket layout, and soft-flask compatibility on the Stryq hydration running vest reflect the exact adjustment points covered above, rather than a generic template borrowed from a bigger brand.
One tip that came directly out of that testing: load your flasks before you adjust anything, and always run the sternum clip below the collarbone first, then fine-tune the side cords second. Runners who did it the other way round consistently reported more shoulder pressure at the twenty-minute mark.
What I learned refitting a bouncing vest mid-run
A vest that felt fine standing still started bouncing badly around the 40-minute mark of a long run, and the fix wasn’t a smaller size. It was rebalancing two overfilled front pockets and re-cinching the side cords that had loosened as my ribcage expanded under effort. One tweak worth testing immediately: recheck your side cords halfway through any run over an hour, since bodies loosen straps in ways a standing fit test never reveals. The lesson that stuck was simple. Fit isn’t a one-time decision you make in a shop; it’s something you keep adjusting as the run demands.
— martin
Get the STRYQ fit right from the first run
Stryq builds every hydration vest around the exact adjustment points covered in this guide: rib cords, sternum clip, and lower cinches, so you’re not fighting the design to get a no-bounce fit. The hydration running vest comes with pocket layout and soft-flask compatibility already tuned from repeated runner testing, and pairs naturally with the 500ml soft flask for front-carry stability on anything under three hours.
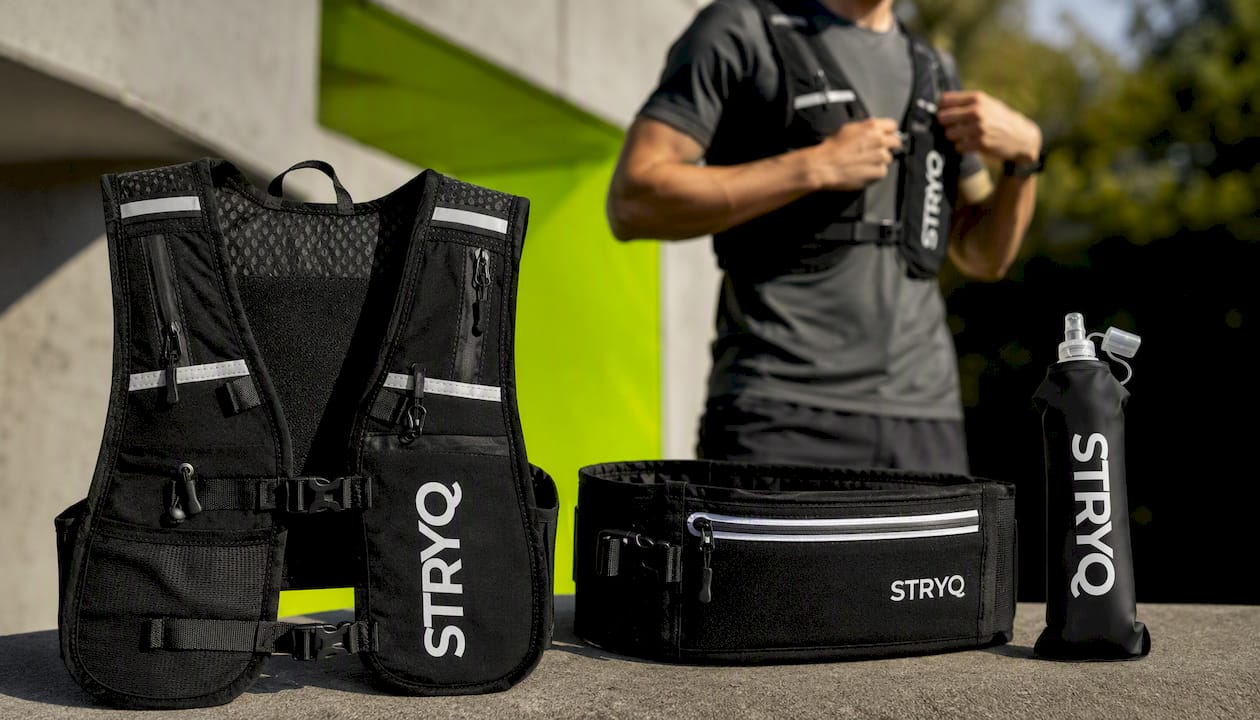
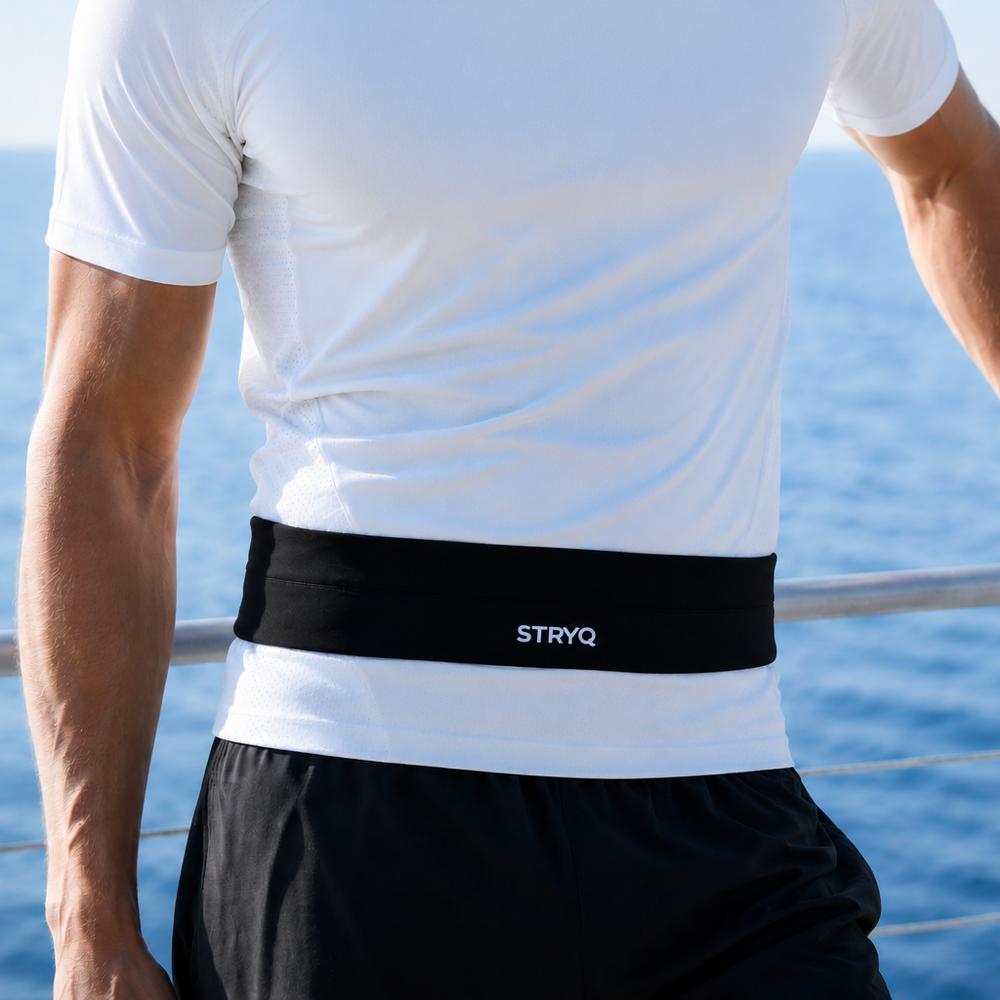
If you’re running under an hour and a full vest feels like overkill, the Stryq running belt covers light hydration and essentials without the extra strapping. Measure your chest over a running top, check it against the size chart on the product page, and load the vest exactly as you plan to run before making your final call. For a deeper look at strap sequencing and packing specific to Stryq’s design, read the full hydration vest fit guide and place your order once you’ve confirmed the fit feels right.
Sources
- How to Choose a Running Hydration Vest | REI Expert Advice
- How to Choose a Hydration Vest for Running – Boréal Running
- How to Choose a Running Hydration Vest: Capacity, Fit, and Flasks Explained
- Best running vests of 2026