For technical trail running, a headlamp wins because its beam follows your eyes and scans hazards ahead. For road running and general visibility, a chest light wins because it holds a steady beam, sits lower for better ground shadows, and often adds rear LEDs. Many night runners tackling mixed terrain or ultras carry both, switching between them depending on the ground beneath their feet.
TL;DR:
- Headlamps follow your line of sight, making them ideal for hazard scanning, but they can cause bounce and reduce ground shadowing on close terrain.
- Chest lights provide steadier, low-angle illumination with improved depth perception and often include rear LEDs for 360° visibility, making them better for consistent ground lighting.
- Fast technical trail runners should prioritize headlamps, while road, multi-use paths, and ultras favor chest lights or a combination to balance visibility and stability.
- Test fit and comfort by running with the headlamp or chest light for at least a few minutes to assess straps, bounce, and compatibility with gear; weight perception varies by mounting position.
- Combining a steady chest light with a rear flasher and reflective gear enhances visibility from all angles, especially when running near traffic or in mixed urban and trail conditions.
Table of Contents
- Headlamp vs chest light: how they differ functionally
- Which light suits your route and pace
- Testing fit before you commit to a light
- Being seen: rear lights, flash modes and urban safety
- What lumens, beam shape and battery choices mean in practice
- A concise checklist for choosing your night-running light
- How Stryq tests fit and why the right accessories matter for night runs
- Why heat builds differently on your head versus your chest
- Adjusting and aiming your light without breaking stride
- What headlamps and chest lights typically cost
- Author note: when I choose both lights and how I use them
- How Stryq accessories complement your night-lighting setup
- Sources
Headlamp vs chest light: how they differ functionally
The core difference comes down to where the beam originates and what that does to your depth perception. A headlamp beam moves with your head, so wherever you look, the light follows. That is exactly what makes it useful for scanning loose rock, spotting a root before your foot lands on it, or checking a trail marker off to the side. It is also what makes it slightly worse at showing you texture directly underfoot, because a beam coming from eye height flattens shadows on close, low terrain.
A chest light sits lower and stays fixed relative to your torso rather than your gaze. That lower angle throws longer shadows off rocks, ruts, and uneven surfaces, which improves ground shadowing and depth perception compared with a beam coming from above your eyes. Many chest-light systems also build in rear-facing LEDs, giving you 360° visibility without extra kit.
Stability is the other big divider. A headlamp sits on your head, which is the part of your body that moves most during running gait, so any bounce in your stride translates directly into a bouncing beam and, over long runs, into strap pressure on your forehead. A chest light sits closer to your centre of gravity. It moves less, which means a steadier corridor of light and less visual fatigue on longer efforts.
That stability comes with a trade-off in control. A headlamp is directable, useful when you need to check a signpost or glance down a side trail, while a chest light gives you a fixed, steady beam that lights the path ahead but does not follow a sideways glance.
Weight matters more than most runners expect; choosing from the best ultralight backpacking gear can help you save crucial grams on your long events. Modern headlamps span a wide range, and models toward the lighter end of that range are the ones serious runners tend to reach for, because extra grams on the head amplify bounce far more than the same weight on the chest would.
Beam function differences that matter most for running:
- Headlamp beams follow your line of sight, useful for scanning and spotting hazards off the direct line of travel
- Chest lights sit lower and cast longer shadows, improving depth perception on technical, low terrain
- Headlamp weight sits directly on the head, where gait bounce is most noticeable
- Chest lights mount closer to the torso’s centre of gravity, reducing perceived bounce
- Many chest-light units include rear LEDs, adding visibility that a headlamp alone cannot provide
Practical lumen guidance: A 200 to 500 lumen range covers most road and general trail running comfortably. Fast, technical sections at night sometimes call for more, depending on beam shape and how far ahead you need to see.
Which light suits your route and pace
Matching your typical run to a lighting setup is simpler than most guides make it sound. Speed and terrain decide almost everything.
- Road and multi-use path running. A chest light or vest-mounted light is the stronger choice here. Traffic awareness matters more than terrain scanning, and the steady beam plus rear visibility keeps you seen from every angle without the head bounce.
- Fast technical trail running. A headlamp earns its keep on singletrack. You need to scan ahead of your foot placement constantly, glance at trail markers, and read terrain that a fixed beam simply cannot follow.
- Commuting and mixed routes. If your run switches between pavement and unlit paths, a chest light as your primary source with a small, lightweight headlamp as backup for close-up tasks (checking a map, tying a lace) covers both bases without overloading either mount point.
- Ultras and long night efforts. This is where carrying both stops being overkill and becomes standard practice. Many experienced night runners use a headlamp for directional scanning and a chest or vest light for steady illumination and rear visibility, swapping which one leads depending on whether the next section is technical singletrack or a smooth fire road.
The pattern holds across most testing and comparison write ups: headlamps win where directional scanning is the priority, and chest lights win where stable, low-angle illumination and being seen matter more. Knowing which of those two problems your typical route creates is most of the decision.
Testing fit before you commit to a light
Fit problems rarely show up in a shop. They show up three kilometres into a run when a strap starts slipping or a unit begins swinging with every stride. A short test run, even just around the block, tells you more than reading a spec sheet ever will.
Check strap tension first. It should feel snug without pressing a headache line into your forehead, and a chest harness should sit flat against your sternum without needing constant readjustment. If you run in a cap or hat, check compatibility before buying. Some headlamp straps sit awkwardly over a brim, and some chest harnesses ride up when your arms swing hard during faster efforts.
Weight feels different depending on where it sits. A headlamp that feels light in your hand can feel surprisingly heavy after forty minutes on your head, because gait bounce amplifies perceived weight at that mount point. The same gram count on your chest, closer to your centre of gravity, barely registers.
Quick comfort checks to run through before you buy:
- Tighten the strap or harness until it is snug, then run for two minutes and reassess.
- Watch for bounce at the unit itself, not just strap slippage.
- Test compatibility with whatever headwear or vest you actually run in.
- Check where the light sits relative to a hydration vest or running belt, since overlapping straps cause chafing and bounce.
A well-designed chest light with a small cap or glare shield over the lens stops light bouncing back into your own eyes in mist or fog, a detail worth checking in product photos before you buy.
Pro Tip: Run your test loop wearing whatever else you’d normally carry, a vest, a belt, a phone armband. Straps interact with each other far more than they do in isolation, and that’s where most bounce complaints actually come from.
Being seen: rear lights, flash modes and urban safety
Being seen matters as much as seeing where you are going, and this is where chest lights have a structural advantage. Many chest-light systems build in rear-facing LEDs as standard, giving 360° visibility to drivers, cyclists, and other path users without any extra kit. A headlamp alone lights the path ahead but does nothing for anyone approaching from behind.
Mode selection changes with context. On busy roads with regular traffic, a flashing or strobe mode on your rear light catches attention faster than a steady beam, particularly at junctions where a driver’s eye needs to register motion quickly. On quiet trails or when running in a group, steady mode is usually the better call. A flashing light directly behind a running partner becomes genuinely irritating over a few kilometres.
Glare etiquette matters more than most runners think about until someone complains. A headlamp on full beam pointed at another runner’s face, even briefly, ruins their night vision for several minutes. Switching to a red or low mode preserves night vision for everyone in your group and avoids the momentary blindness a white beam causes at close range.
Visibility habits worth building into every night run:
- Use flashing or strobe rear modes on roads with vehicle traffic.
- Switch to steady mode on trails or when running with others.
- Dip or angle a headlamp down when passing oncoming runners.
- Pair any light with reflective clothing for redundancy if a battery fails mid run.
Combining a steady chest beam with a rear flasher and a strip of reflective fabric covers the three angles that matter most: what’s ahead of you, what’s behind you, and what a driver’s headlights pick out from the side.
What lumens, beam shape and battery choices mean in practice
Lumens measure total light output, but they tell you almost nothing about how far that light throws or how wide it spreads. That is down to beam shape, and beam shape often matters more to practical performance than the raw lumen figure printed on the box. A flood beam spreads wide and close, ideal for near-field trail work where you need to see the ground right in front of your feet. A spot beam throws narrower and further, better for scanning ahead on fast, open sections.
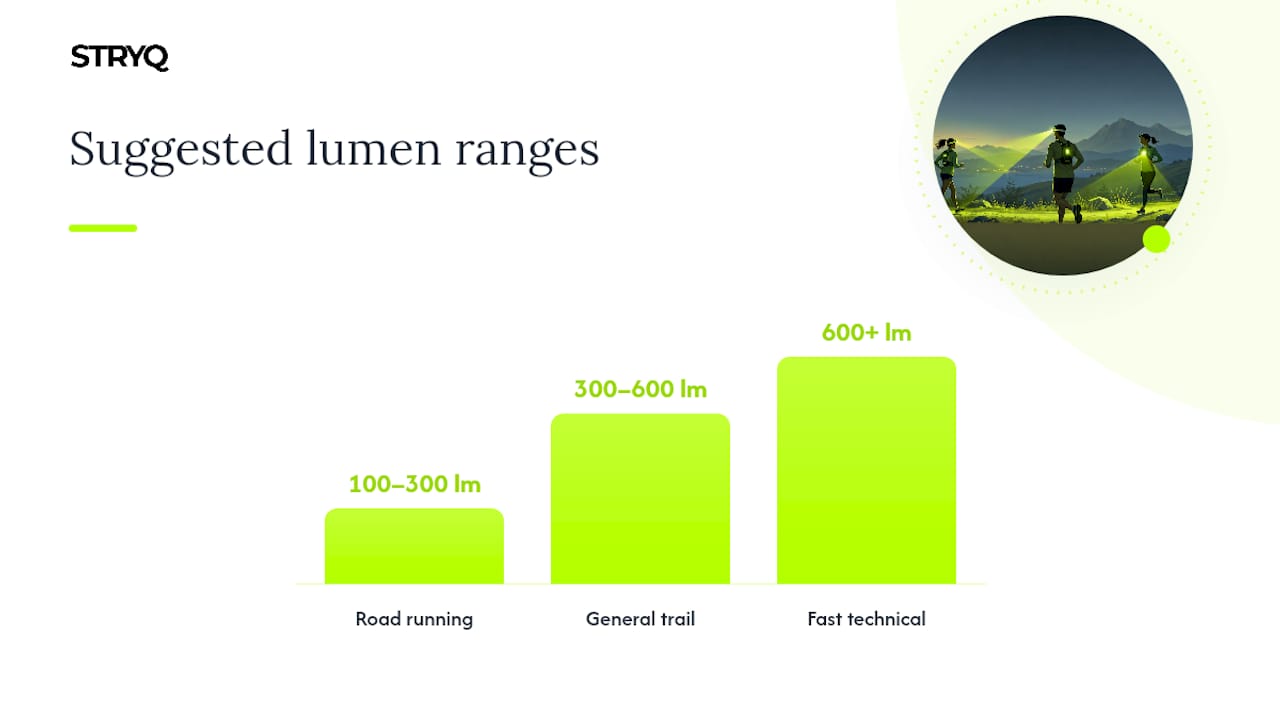
As a rough guide, 100 to 300 lumens covers most road running comfortably, since street lighting and predictable surfaces need less raw output. General trail running usually sits better in the 300 to 600 lumen range, and fast technical sections sometimes call for 600 lumens or more, depending on how far ahead you need visibility at speed. Treat these as starting points rather than rules, since beam shape changes how far a given lumen count actually reaches.
Battery choice is a genuine trade off, not just a spec line. Rechargeable lithium ion units are lighter and more convenient for regular use, but a dead battery mid run means a dead light with no quick fix. Units that accept spare batteries or removable cells give you redundancy on long efforts, useful for anyone running ultras or multi-hour night sessions where a backup matters more than shaving grams.
Battery and durability checkpoints worth checking before buying:
- Confirm whether the unit is rechargeable only or accepts swappable cells.
- Check the manufacturer’s IP rating for wet-weather runs, particularly in autumn and winter.
- Note the runtime at your typical brightness setting, not just the maximum claimed runtime.
- Consider carrying a spare battery pack in a belt pocket for anything over two hours.
A concise checklist for choosing your night-running light
Start with the activity, not the product page. Speed, terrain, and how much you need to be seen by others should decide the category before you look at a single spec sheet.
- Name your typical run. Fast technical trail leans headlamp. Road and path running leans chest light. Mixed or ultra distance leans both.
- Check the lumen range against your pace. Faster running over rougher ground needs more throw; steady road running needs less.
- Confirm beam shape. Ask whether the product page specifies flood, spot, or a mix, since that detail predicts real-world usefulness better than the lumen number alone.
- Check runtime at your normal brightness, not the maximum claimed figure. A unit rated for ten hours on its lowest setting might run for ninety minutes on the setting you’ll actually use.
- Test strap or harness compatibility with your existing kit. A running belt or vest changes how a chest harness or headlamp strap sits, so check for overlap before buying either.
- Confirm rear visibility. If the unit has no rear LED and you run near traffic, budget for a separate rear light.
- Weigh the unit in your hand, then imagine it after ninety minutes on your head or chest. Weight that feels negligible in a shop can feel very different an hour into a run.
Pro Tip: If a product page doesn’t state runtime at a specific brightness setting, and only quotes the maximum, treat that as a red flag. Reputable manufacturers usually break down runtime by mode.
Red flags worth walking away from: no stated IP rating, no runtime breakdown by brightness mode, and straps advertised as “one size fits all” with no adjustment range mentioned. These usually signal a product that hasn’t been tested on real runners in real conditions.
How Stryq tests fit and why the right accessories matter for night runs
Stryq’s approach to running gear starts from a simple premise: performance without unnecessary complexity. Every product goes through multiple sample revisions and rounds of feedback from runners before it ships, rather than launching once and hoping it fits.
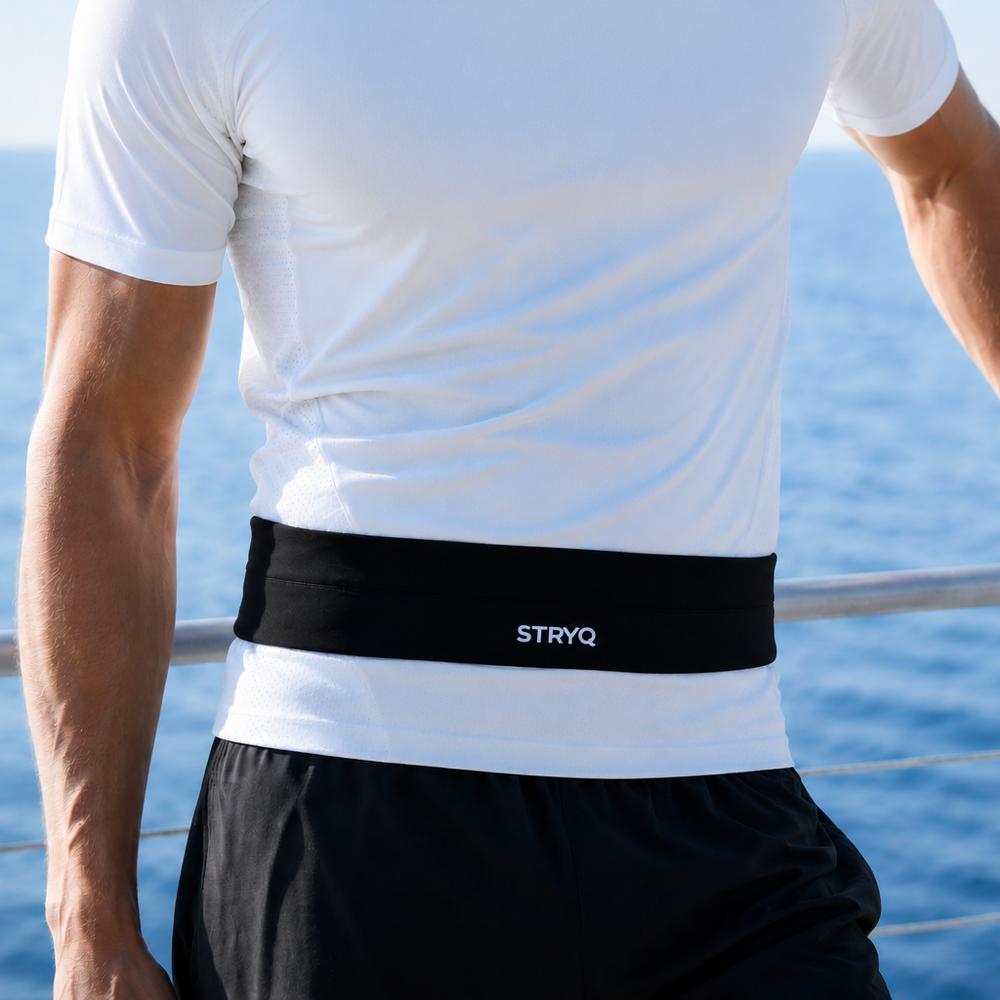
That matters directly for night lighting, because most of the discomfort runners report with chest lights and headlamps traces back to how the strap or harness interacts with whatever else they’re wearing. A running belt built to sit flat against the lower back reduces the shifting that causes a chest harness to ride up or twist mid-stride, and gives you a stable place to carry a spare battery pack or a small backup light without adding bounce anywhere else.
Why heat builds differently on your head versus your chest
Thermal comfort is an underrated factor in choosing between the two, and it works differently depending on where the unit sits. Your head loses a large share of body heat during exercise, which is exactly why runners overheat in hats they’d normally tolerate in cooler weather. Adding a headlamp strap on top traps a thin layer of heat against the scalp, noticeable on warmer nights or during sustained climbs where effort and airflow both increase.
A chest light sits against a part of the body that is already working hard to shed heat through your running kit, but it doesn’t wrap around the head the way a strap does. Most runners find a chest harness less noticeable thermally, provided the strap material breathes reasonably well and doesn’t sit directly against skin for hours.
The practical takeaway is seasonal as much as it is personal. On cold winter nights, a headlamp’s slight head-warming effect can actually feel welcome. On warm summer nights, particularly on longer efforts where your head is already working to dump heat, a chest-mounted light avoids adding an extra layer where you least want one. If you run hot generally, that’s a reasonable tie-breaker when the rest of the decision is close.
Adjusting and aiming your light without breaking stride
A light you can’t aim quickly becomes a light you stop using properly. Headlamps typically offer a tilt hinge that lets you angle the beam down toward the ground or up toward eye level, and the better designs let you do this one-handed without slowing down. That matters more than it sounds, because the ideal angle changes constantly on technical trail, from steep downhills where you want the beam close to your feet, to flatter sections where a further throw helps you plan several strides ahead.
Chest lights are less about aiming and more about initial setup. Because the beam is fixed relative to your torso, getting the mount angle right before you start running matters more than adjusting on the move. A chest light angled slightly downward throws a longer shadow across the terrain directly ahead, which is where most of the depth perception benefit comes from in the first place. Angled too high, and you lose that low-angle shadow advantage entirely, ending up with a beam that behaves more like a poorly placed headlamp.
Before buying, check how many tilt positions a headlamp offers and whether the adjustment mechanism can be operated wearing gloves, a genuine problem on cold winter runs. For chest lights, check whether the mounting clip or harness allows angle adjustment at all. Cheaper units are often fixed at a single angle, which limits how well they perform if your running posture or the terrain’s pitch changes significantly during a run.
What headlamps and chest lights typically cost
Price ranges for both categories overlap more than most buying guides suggest, and the gap between a basic and a genuinely reliable unit is usually smaller than the gap between a reliable unit and a premium one loaded with features most runners won’t use.
Entry-level headlamps sit at the lower end of the market and cover basic road and light trail use adequately, though battery life and beam consistency tend to suffer at this tier. Mid-range headlamps, typically the sweet spot for regular night runners, add better beam control, longer runtime, and more durable housings. Premium headlamps push toward higher lumen outputs and smarter beam-shaping optics, useful mainly for ultra distance or genuinely technical night trail running.
Chest lights follow a similar curve. Basic units cover casual road running fine, while mid-range models typically add the rear LED visibility feature that makes chest lights worth choosing over a headlamp in the first place. Premium chest-light systems integrate more cleanly into a vest or harness system and offer better battery life at a given brightness.
Whichever category you land on, factor in the cost of a spare battery pack or backup light for anything beyond an hour, since replacing a light mid-run is not an option once you’re a few kilometres from home. A running belt that carries a spare charge cheaply extends the useful life of either light type without needing to buy a second, more expensive unit.
Author note: when I choose both lights and how I use them
The decision to carry both lights usually comes down to a single moment on a run: the point where smooth fire road tips into rough singletrack and a fixed chest beam suddenly isn’t enough to spot the next root. That switch, from steady chest illumination to active headlamp scanning, is where carrying both earns its weight.
My default setting on a headlamp sits around the middle of its brightness range, angled down toward the ground rather than out toward the horizon; it’s rarely worth the battery drain of full beam unless the trail genuinely demands it. When running with others, I switch my rear light to flashing mode the moment traffic or shared paths come into play, then back to steady once we’re on quiet trail again.
If you’ve found your own rhythm for switching between the two, or a combination that works better for your usual routes, it’s worth sharing. Every runner’s mix of terrain is slightly different.
— martin
How Stryq accessories complement your night-lighting setup
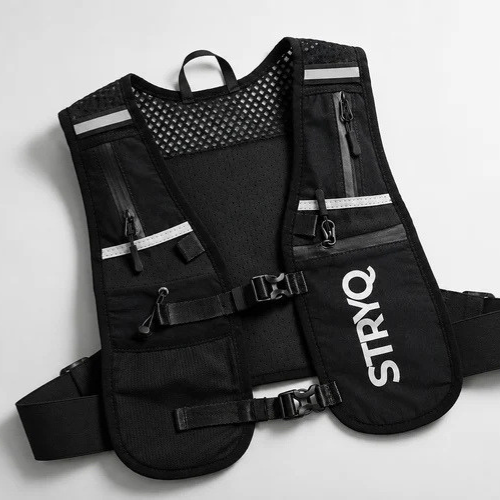
Stryq is the practical fit for runners who’ve already worked out which light suits their route and now need the kit to hold it steady. A chest harness that shifts with every stride undoes half the benefit of choosing a stable, low-angle beam in the first place, and that’s exactly the problem a well-fitted running belt solves. It sits flat against the lower back, giving you a stable point to carry a spare battery pack or a small backup light without adding bounce to whatever you’re already wearing on your chest or head.
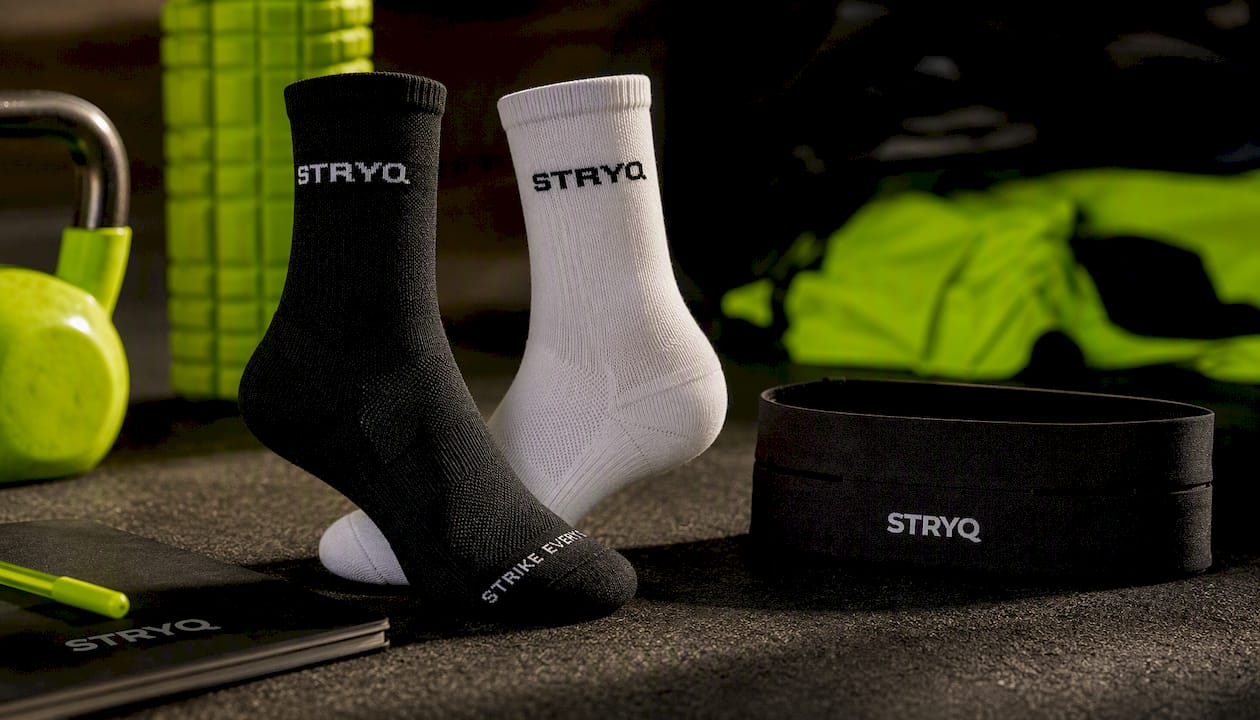
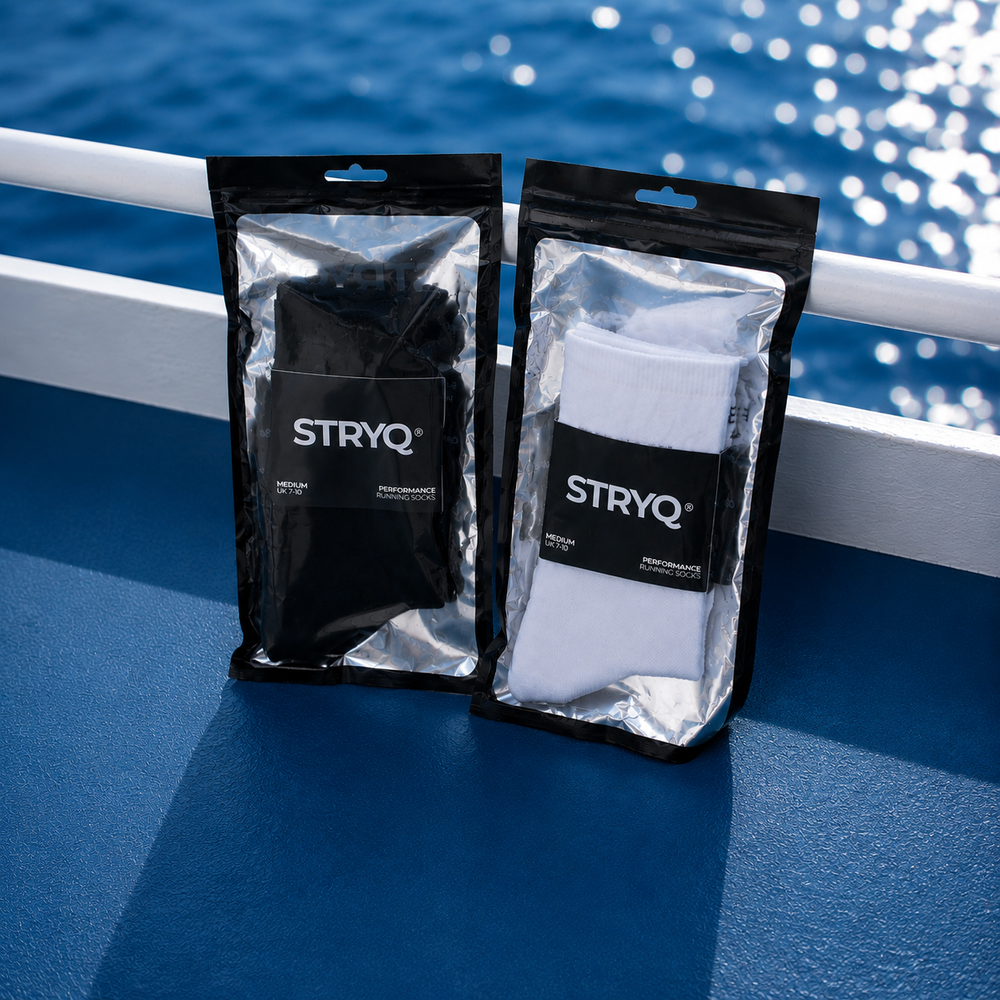
For long night efforts, comfort in the small details adds up fast. Stryq Running Socks in black or white are built with arch support and cushioning designed to hold up over hours on your feet, the kind of detail that matters far more on a three-hour night run than it does on a quick daytime loop. Every product goes through repeated sample revisions and real runner feedback before it reaches the shop, priced in £ and built to last rather than to hit a price point.
If bounce and carrying spares have been the sticking point in your night-running setup, browse the running belt and see whether it solves the fit problem your current lighting kit has been fighting against.
Sources
The Treeline Review running lights test covers hands-on comparisons across headlamps and chest units, useful if you want performance notes beyond spec sheets. Walking Academy’s chest light versus headlamp breakdown goes deeper into beam angle and ground shadow effects referenced earlier. For a wider look at lumen guidance and mountain-specific advice, Mountain Field Guide’s headlamp buying guide is worth a read, and Runners Picks’ night safety roundup breaks down beam shape in more technical detail than most product pages offer.
- Chest light vs headlamp: which is best for night hiking?
- Headlamps: how to choose the right light for hiking and mountain adventures
- 9 Best Running Lights of 2026 (Tested & Reviewed)
- Best running lights for night running