A race number flapping against your vest can become surprisingly irritating by mile three. Knowing how to use a race belt properly keeps your bib visible, your gels close by and your kit comfortable from the start line to the finish. It is a small piece of kit, but when it is fitted well, you barely notice it.
Race belts are useful for anything from a local parkrun to a marathon or triathlon. They remove the need for safety pins, protect technical tops from pinholes and make it easier to carry a few gels. The key is getting the fit and bib position right before race day.
What a race belt does
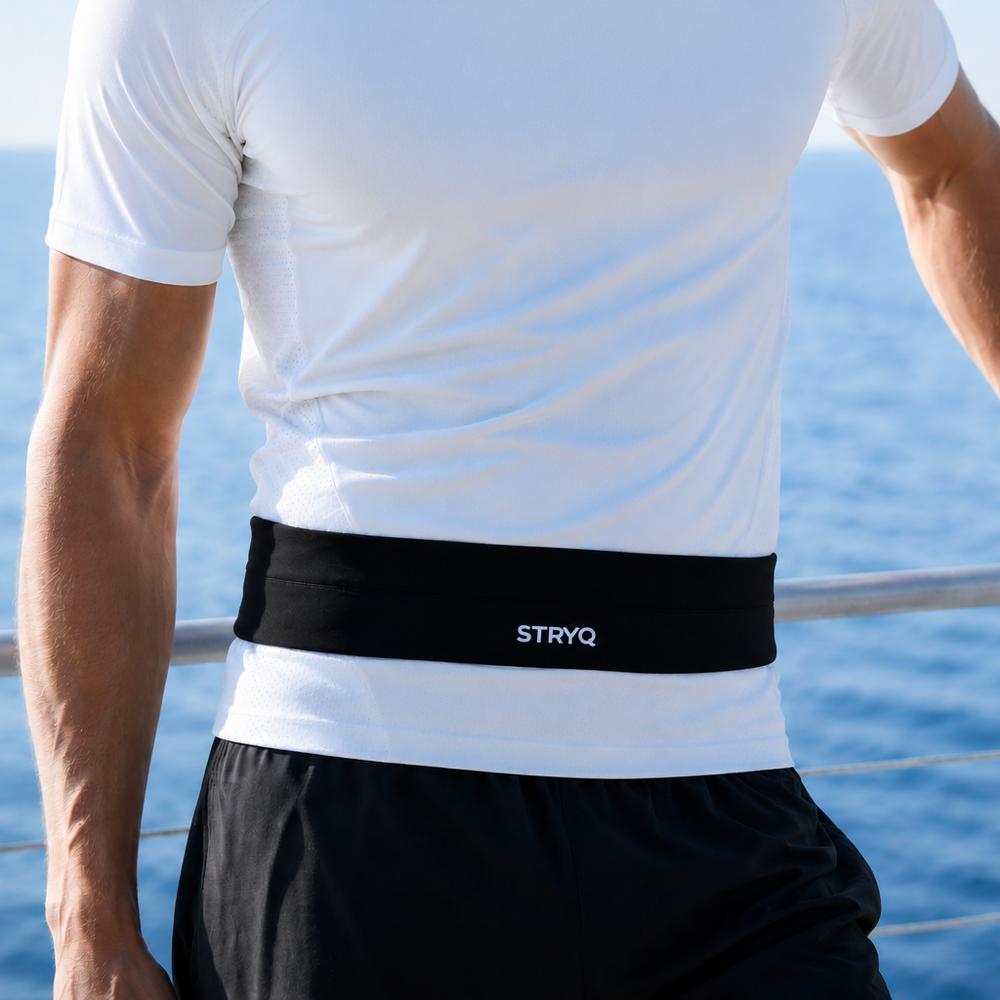
A race belt is an adjustable elastic belt worn around your waist or hips. Your race bib attaches to the toggles at the front, while many designs also include loops for gels. Some have clips or attachment points for extras, although it is worth keeping the setup simple.
The main benefit is convenience. Instead of pinning a number through a running top, jacket or hydration vest, you attach it to the belt. This is especially useful if the weather changes and you need to remove a layer after collecting your number.
For triathlon, a race belt is particularly practical. You can put it on during transition rather than trying to pin a bib to a wet tri suit. In many events, the number must be worn on your back for the bike leg and moved to the front for the run. A belt makes that change quick.
How to use a race belt step by step
Start by fully loosening the belt. Step through it, or open the buckle if yours has one, then place it around your waist. Most runners find that it sits best around the narrowest part of the waist or just above the hips. The right position depends on your build, the waistband of your shorts and whether you are wearing a running belt or hydration vest.
Hold your bib against the front of the belt. Feed the race belt toggles through the two top holes in the number, then secure them so the bib lies flat. Some belts use clips instead of toggles, but the principle is the same. Your number should face forward and remain easy for marshals, photographers and timing officials to see.
Adjust the belt so it feels firm but not restrictive. You should be able to take a full breath and comfortably bend or twist. Then jog on the spot. If the belt drops, rotates or bounces, tighten it a little. If it digs in when you breathe deeply, loosen it slightly.
Finally, add your gels if you are carrying them. Slide each gel packet under an elastic loop with the tear tab facing up or to the side where you can reach it easily. Avoid packing too many onto one side, as the uneven weight can cause the belt to twist.
Check the race rules first
Most road races allow race belts, but your number still needs to be clear and unaltered. Do not fold, trim or cover the bib unless the event specifically permits it. This can interfere with identification, photography or timing.
If your race uses a timing chip attached to the bib, make sure the number is not bent sharply around the belt. Keep it as flat as possible. For events with a separate chip on an ankle strap, this is less of a concern, but the bib still needs to be visible.
Where should a race belt sit?
There is no single position that works for every runner. The best place is wherever it stays secure without rubbing or restricting your stride.
For most runners, the front of the belt should sit across the lower waist, above the waistband of shorts or leggings. This keeps the number visible and makes gels easy to reach. If you wear a hydration vest, try the belt underneath it first. The vest can help prevent movement, and you can still access the race number and nutrition.
Wearing it over a jacket is useful in cold or wet conditions because your bib remains on show if you unzip the jacket. If you expect to take a layer off during the race, a race belt avoids the awkward job of moving safety pins with cold fingers.
Try not to place the belt directly across a sensitive area, such as where the waistband seam of your shorts rubs. A slight adjustment up or down can make a big difference over a half marathon or longer.
Getting the fit right: no bounce, no bulk
A race belt should be snug enough that it does not move independently from your body. It should not be so tight that it presses into your stomach or makes easy breathing feel difficult. The best test is not standing in front of the mirror. It is a short run wearing the same kit you plan to race in.
Do this test with your usual gels attached. A belt that feels fine when empty can bounce once you add four packets of nutrition. Run a few minutes at an easy pace, then add several short faster efforts. If the belt rides up, turns sideways or the bib flaps, make small adjustments rather than pulling it excessively tight.
Elastic belts can loosen slightly during a long run, particularly in rain. Once you have found your preferred setting, check the adjustment clip is lying flat and the loose tail is tucked away. A dangling strap can catch on clothing or become annoying when it repeatedly taps your side.
Chafing is less common with a well-fitted race belt, but it can happen on bare skin during hot, sweaty races. Wear the belt over your top where possible. If you race in a crop top or bare torso, test the exact setup in training and use an anti-chafe product on known problem areas.
How to carry gels on a race belt
Gel loops are helpful because they keep fuel accessible without filling your shorts pockets. They work best for the amount of nutrition you will actually use between aid stations, not every item you own.
Think about your fuelling plan before loading the belt. For example, if you take one gel every 30 to 40 minutes and the course provides water, you may only need three or four gels for a half marathon. For a marathon, you may carry more, collect some from aid stations or use a running belt or vest for additional storage. It depends on your plan and what the event provides.
Place gels in the order you expect to take them. If one contains caffeine, put it in a clearly different position so you do not take it by mistake. Keep the tabs facing a consistent direction and make sure the loops hold the packets securely without crushing them.
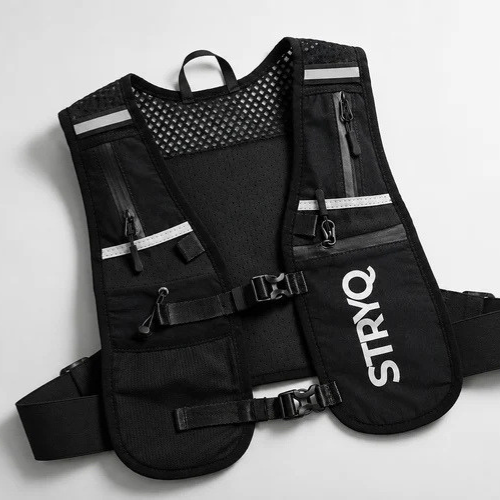
Race belts are not designed to replace all storage. A phone, keys, inhaler, soft flask and spare layers may need a proper running belt or hydration vest. Trying to hang too much from a lightweight bib belt creates bounce and makes reaching your race number harder.
Common race belt mistakes to avoid
The most common mistake is using a race belt for the first time on race morning. It only takes ten minutes to practise attaching the bib and accessing a gel, but that rehearsal removes one more source of stress before the start.
Also avoid fitting the belt while wearing different clothing from your planned race kit. A belt adjusted over a thin T-shirt may feel too tight over a long-sleeve base layer. Test it with the layers, pockets and hydration setup you will use on the day.
Do not put the bib on upside down or attach it by only one corner. It may sound obvious, but this happens in busy start pens. A twisted number can flap, obscure your race details and make the belt feel less stable.
Finally, do not rely on the belt to hold items it was not made to carry. Heavy keys, large phones and full bottles need secure storage designed for running. Keep the race belt focused on its job: your number, your gels and a comfortable, distraction-free run.
A quick race-morning check
Before leaving for the start, confirm that your bib is facing forward, all toggles are secure and your gels are easy to remove. Jog a few steps and take a deep breath. The belt should stay still without feeling tight.
A good race belt does not make you faster by itself. It does remove small distractions that drain your attention over the miles. Set it up once, test it properly and let your focus stay where it belongs: on your pace, your fuelling and enjoying the run.