A race vest can feel like part of your body, or like a loose bag that swings, rubs and makes every mile harder. The difference is rarely just the vest itself. Knowing how to pack race vest pockets properly keeps weight close to your torso, puts essentials where you can reach them and stops small items working their way into awkward places.
There is no single perfect layout. A 10K in warm weather needs far less than a hilly trail marathon or an ultra with mandatory kit. But the principles stay the same: carry only what you need, keep heavy items high and close, and balance the load from left to right.
Start with the race rules and weather
Pack for the event you are actually running, not for every possible problem. Check the organiser's mandatory kit list first, then look at the forecast, aid-station distance, terrain and expected time on your feet. A cool, wet fell race may require a waterproof jacket, warm layer, hat, gloves, foil blanket, whistle and enough food to be self-sufficient. A local half marathon with frequent water stations may need little more than phone, keys, gels and a soft flask.
Mandatory kit is not a suggestion. Put every required item out before packing, including batteries if your head torch needs them. Check that your phone is charged and that your emergency contact details are accessible. If the forecast is changeable, protect items such as your phone, spare layers and first-aid supplies in a small waterproof pouch or dry bag. A vest is water-resistant at best unless stated otherwise.
Avoid filling empty space just because it is there. Extra weight is still extra weight, particularly late in a race when your shoulders and posture are tired.
How to pack a race vest in the right order
The easiest way to get a stable setup is to pack from the least frequently used items to the things you need while moving. This prevents you from having to unpack half the vest to find a gel at mile 16.
Put hydration first
Hydration is usually the heaviest part of the load, so start here. If you use front soft flasks, fill both to a similar level where possible. Two 500 ml flasks, one on each side, usually feel more stable than one full flask and one empty pocket. It also gives you options if one drink contains electrolytes and the other is plain water.
For a rear bladder, fill it before adding other kit and slide it fully into its sleeve. Make sure the hose is routed cleanly and secured so it cannot flick around. A bladder suits runners who need more capacity, but it can be harder to judge how much you have left and more awkward to refill at busy aid stations. Front flasks make drinking, refilling and monitoring intake simpler, although they occupy useful front storage.
Do not automatically fill every container to the top. If the next water point is close, carrying less can make the vest more comfortable. Your needs depend on temperature, pace, sweat rate and the course. Use long training runs to learn what works for you.
Keep dense items close to your back
Place compact but heavier items in the rear compartment, closest to your body. This could include a waterproof jacket, a tightly packed warm layer, mandatory food or a power bank. Pack soft items around anything firm so it does not dig in or move about.
A rolled jacket can help create a stable layer against your back, but do not squash it so tightly that it is difficult to retrieve. If rain is likely, move the jacket into an easy-access outer pocket. There is little value in carrying it perfectly packed if you have to stop in the wind to find it.
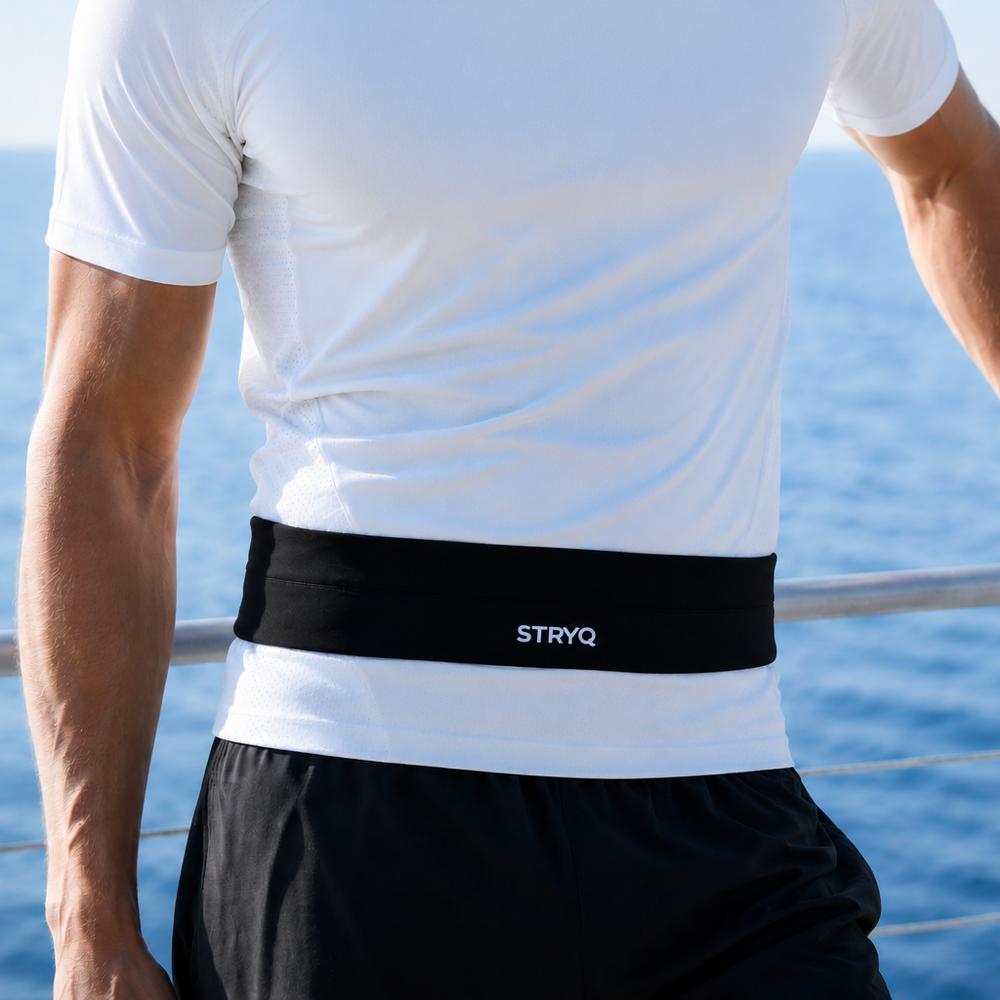
Try to avoid placing hard objects directly against your spine. Keys, a phone, a multi-tool or an energy bar in stiff packaging can become surprisingly uncomfortable after an hour. A running belt can be a useful alternative for small valuables if your vest is already carrying bulkier mandatory kit.
Put fuel where your hands can find it
Gels, chews, salt tablets and small snacks belong in front or side pockets. You should be able to take them without breaking stride or taking the vest off. Organise fuel in the order you expect to use it, with your first gel nearest the top and later fuel behind it.
Remove excess wrappers before the race where practical. It saves space and makes opening food easier with cold or wet hands. Keep one rubbish pocket clear from the start. Used gel wrappers should stay with you until an aid station or bin, not end up on the trail.
If you carry a larger food item, such as a flapjack or sandwich, put it in a stretch pocket where it will not be crushed by a flask. Test it in training. Food that is easy to eat when standing still can be messy and unappealing when you are breathing hard on a climb.
Give essentials a fixed home
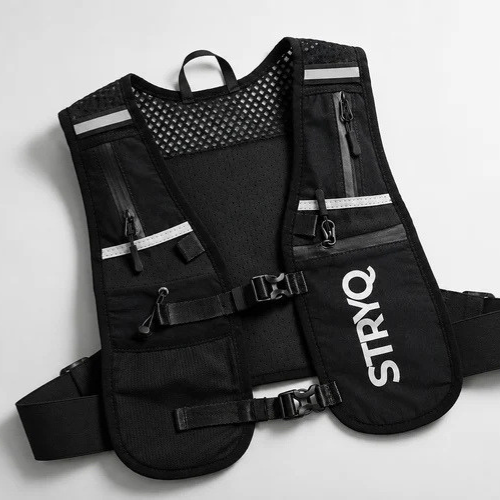
Your phone, keys, race number instructions, inhaler, tissues and emergency items need a consistent place. A zipped pocket is best for valuables. Pick one pocket and use it every time so you are not searching under pressure.
Keep your phone in a pocket that is secure, close-fitting and protected from sweat. If you use it for navigation, make sure it can be removed one-handed. For a route that relies on a GPX file, download the map beforehand rather than assuming you will have signal in remote areas.
Small first-aid items are worth carrying on longer or more remote runs. A couple of plasters, blister patches and any personal medication take very little room. They will not replace proper medical support, but they can make a manageable problem less disruptive.
Balance matters more than filling every pocket
A vest should feel balanced when you stand, jog and descend. A heavy flask on one side and a stuffed phone pocket on the other can pull the vest round your torso. Spread the weight evenly, then adjust as you drink and eat.
The load will change during a race. Soft flasks get lighter, food disappears and a wet jacket may become heavier after use. That is normal. The aim is not for the vest to feel identical all day, but for nothing to swing freely or create a pressure point.
If you carry poles, make sure they are secured in a position that does not jab your ribs or restrict arm swing. Rear pole storage is often neater on open terrain, while front storage can be quicker if the course switches repeatedly between runnable ground and steep climbs. Practise attaching and removing them before race day.
Adjust the vest after it is packed
Fit changes once the vest has weight in it. Put it on fully loaded, then tighten the side and chest adjustments until it sits close without restricting your breathing. Take a few deep breaths, jog on the spot and lean forward as if descending. If the vest moves now, it will move more after several miles.
Chest straps should hold the front panels in place, not pull them so tight that the vest pinches. Side adjustments control most of the wrap around your ribs. A good fit allows normal breathing while keeping the rear compartment from dropping away from your back.
Do not wait until race morning to make major changes. Wear the same vest, flasks, nutrition and layers on at least a few long runs. This is where you find out whether a gel packet catches, a bottle cap rubs or a jacket takes too long to access. STRYQ running accessories are designed around this practical reality: secure essentials, comfortable fit and no unnecessary bulk.
Do a final moving check
Before leaving for the start line, run through a short check. Confirm your hydration is filled, nutrition matches your plan, mandatory kit is present and valuables are zipped away. Then move for two minutes. Jog up and down the road, climb a few stairs or bounce lightly on the spot.
Listen for items rattling. Feel for a flask that shifts or a pocket that pulls. Fix small annoyances before the gun goes off, because they rarely improve once you are tired, wet or focused on the race.
The best packed race vest is the one you stop noticing. When every item has a place and the load stays close, you can drink, fuel and deal with changing conditions without losing your rhythm. That leaves more attention for the route ahead and the miles you came to run.