A wet running vest, sticky hands and a soft flask that is suddenly half empty can ruin a good session quickly. Knowing how to avoid flask leaks means looking beyond the bottle itself. Most leaks come down to a worn seal, a cross-threaded cap, pressure inside the flask or damage caused by cleaning and packing.
The good news is that most are preventable. A few simple checks before you leave the house can keep your hydration where it belongs and let you focus on the run.
How to avoid flask leaks: start with the cap and seal
The cap is the first place to check. Soft flask caps have several small parts, including the thread, the bite valve and usually a silicone seal or O-ring. If any of these are dirty, damaged or sitting out of place, water can escape under movement and pressure.
Before filling your flask, remove the cap and inspect the seal. It should sit flat in its groove, without twists, splits or rough edges. A seal can look fine at a glance but become stretched after repeated removal, washing or drying on a radiator.
Wipe away any grit, dried electrolyte powder or residue around the cap thread. Even a small amount can stop the cap from sitting evenly. Then screw the cap on straight. If it catches, feels uneven or needs force, take it off and start again. Cross-threading is one of the most common reasons a flask leaks around the neck.
Do not overtighten it. The cap should be firm enough to seal, but forcing it tighter can distort the seal or wear the thread over time.
Check the bite valve too
A bite valve should close after you drink. If it drips when the flask is upright, give it a rinse and squeeze it gently to remove any trapped residue. Sports drink powder can dry inside the valve and stop it from fully closing.
Many soft flask valves also have a locking mechanism. If yours does, use it when the flask is in a running belt, vest pocket or bag. It takes seconds and is particularly useful when the flask is being compressed by other kit.
If the valve continues to drip after cleaning, it may be worn. Replacement caps or valves are often a better option than replacing a perfectly usable flask.
Do not overfill your soft flask
A soft flask needs a little room at the top. Filling it right to the brim leaves nowhere for water to move when the flask is squeezed, warmed up or pressed against your body. That added pressure can force liquid past the cap or valve.
Leave a small air gap before fastening the cap. You do not need to sacrifice much water, but this space gives the flask room to flex naturally as you run.
Temperature matters as well. Cold water left in a warm car, or a flask carried close to your body on a sunny day, can warm up and expand slightly. This is not usually enough to cause a good flask to leak, but it can expose a cap or seal that is already not sitting correctly.
If you are mixing electrolytes, add the powder first, then water. Give the flask a gentle shake with the cap fully secured. Avoid aggressive shaking, especially when it is very full. Check the cap again before putting the flask into your vest.
Clean flasks properly after every use
A flask used only for water is simple to clean, but it still needs more than a quick rinse. Sweat, dust and moisture around the cap can build up over time. With electrolyte drinks or carbohydrate mixes, regular cleaning is even more important.
Rinse the flask and cap with warm water as soon as practical after your run. Take apart any removable components according to the manufacturer's instructions, paying particular attention to the bite valve and seal. A small bottle brush can help clean the inside without scraping the material.
Avoid harsh cleaning products unless they are specifically recommended for your flask. Strong detergents can leave a taste behind and may affect flexible materials or seals with frequent use. Mild washing-up liquid and thorough rinsing are normally enough.
Let every part dry fully before storing it. Leaving a cap screwed tightly onto a damp flask can trap moisture and odours. It can also make the seal stick in place, making it easier to pull out or twist next time you clean it.
Carry your flask without crushing it
Even a perfectly sealed flask can leak if it is constantly compressed in the wrong place. This is where fit matters.
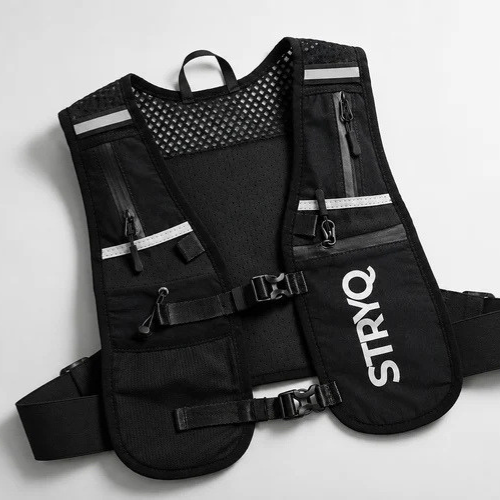
In a hydration vest, place the flask in a pocket designed for it. The pocket should hold the flask securely enough that it does not bounce, but not so tightly that the bite valve is bent or pressed into your chest with every stride. A flask sitting too low can also be squeezed by the vest's lower edge as it empties and softens.
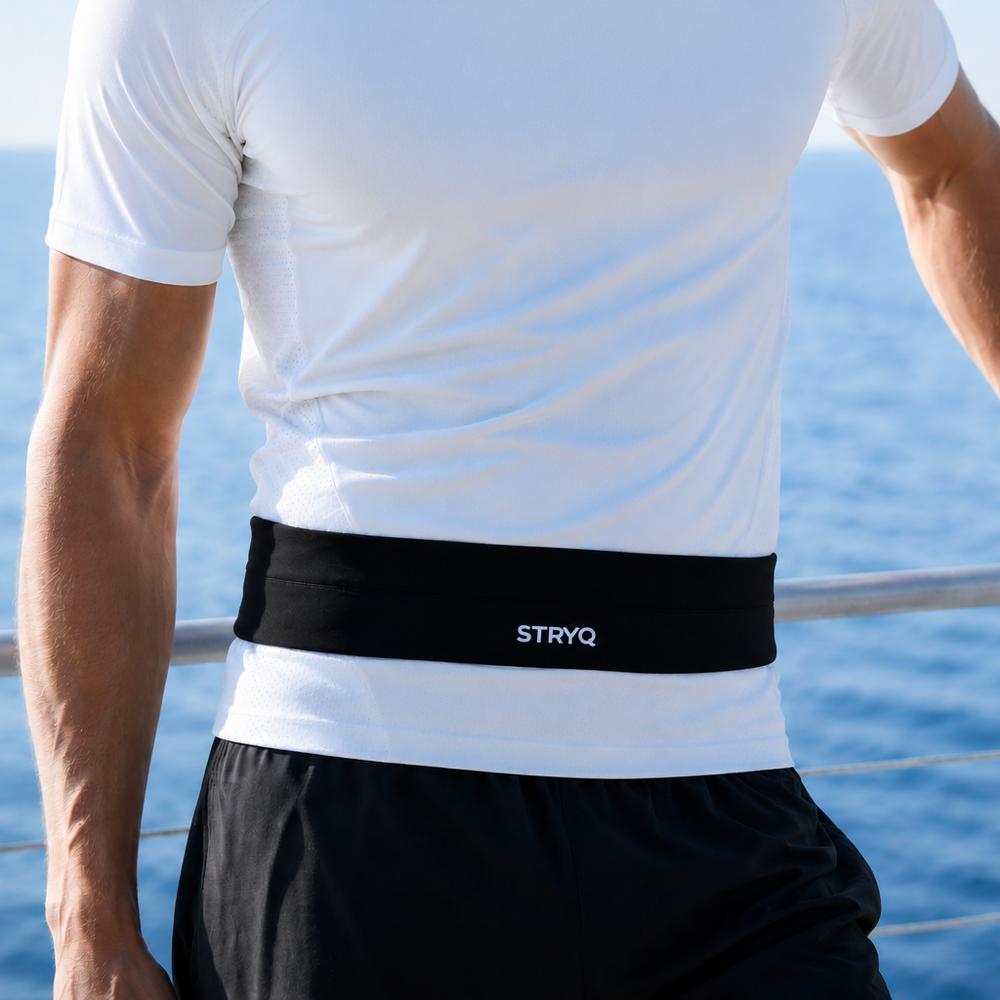
With a running belt, make sure the cap is facing up and the flask is fully inside its sleeve or compartment. Loose gels, keys or a phone can press against the cap during a run. If you carry several items together, use separate pockets where possible.
For long runs, check your setup during the first few minutes rather than waiting until you are miles from home. If you can feel dampness on your kit, stop and inspect the cap before the leak gets worse. It is easier to fix a twisted seal early than to finish a run with a soaked vest and less fluid than planned.
Test a new flask before race day
Do not make your first use of a new soft flask the morning of a half marathon, marathon or trail event. Fill it at home, fasten the cap and turn it upside down over the sink. Give it a few gentle squeezes, then leave it on its side for five minutes.
This simple test can reveal a faulty cap, damaged valve or loose seal before it matters. It also lets you practise opening, drinking from and refilling the flask. These small details feel much easier when your hands are cold or you are tired late in a long run.
If you use two flasks, test both. One may have a slightly different seal or valve, particularly if they have been bought at different times.
Know when a flask has reached the end of its life
Soft flasks are made to be flexible, but they are not indestructible. Repeated folding, freezing, stuffing into tight pockets and washing can eventually wear the material and cap components.
Look for cracks around the neck, cloudy creases that feel weak, a cap that no longer threads smoothly or a bite valve that drips after cleaning. Tiny punctures can be harder to spot, so fill the flask and place it on dry kitchen roll for a few minutes. A damp patch underneath usually tells you what you need to know.
A replacement is sensible when the flask has a split or the cap cannot seal reliably. For a worn valve or seal, replacing that individual part may be enough. It depends on the model and what is available, but there is no point carrying a flask you do not trust on a long run.
A quick pre-run flask check
Before heading out, take 30 seconds to make sure your hydration is ready:
- Check that the seal is clean, flat and undamaged.
- Screw the cap on straight and firmly, without forcing it.
- Leave a little room at the top rather than filling to the absolute limit.
- Lock the bite valve if your flask has that feature.
- Put the flask in a secure pocket with the cap facing upwards.