At mile 18, the last thing you need is to stop, twist your belt around and dig for a gel while runners stream past. A good marathon belt packing example is not about taking everything you might possibly want. It is about carrying the essentials in the same place, every time, with no bounce and no bulk.
Your belt should make race day simpler. It needs to hold the fuel and small items you genuinely need, keep them easy to reach and stay comfortable when your pace changes. The best packing plan depends on your finish time, the weather, the race support and what you have already tested in training.
Marathon belt packing example: start with your race plan
Before putting anything in a pocket, work backwards from the race itself. Check where the water stations are, whether the organiser provides gels and what brand or flavour they will be. Do not assume a gel station will have the fuel you prefer, or that you will reach it exactly when you need it.
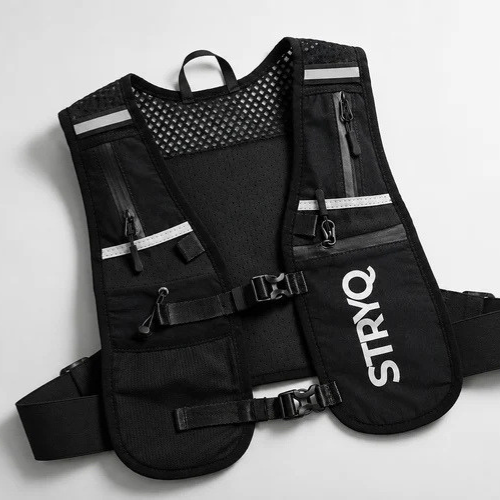
Most runners are better off carrying their own familiar nutrition, then using water stations for fluids. This keeps the belt lighter than trying to carry every drop you will drink for 26.2 miles. If you know you need more water between stations, a hydration vest or soft flask may be the better choice. A belt is excellent for essentials, but it does have limits.
Think about four areas: fuel, hydration, safety and comfort. Your fuel should be enough for your plan plus a small margin. Hydration may be provided on course, but electrolytes can be useful in warm weather or for runners who know they need them. Safety covers a charged phone, identification and any required medication. Comfort means considering the temperature at the start as well as during the final hour.
Set your fuel target first
A common marathon strategy is to take carbohydrates regularly from early in the race rather than waiting until you feel flat. The amount varies. Some runners are comfortable at around 40 grams of carbohydrate an hour, while experienced runners who have trained their gut may take 60 grams or more.
The key point is simple: pack the fuel you have practised with. Race day is not the time to switch to a new gel because it fits more neatly in a pocket. Check the carbohydrate content on each packet, work out when you intend to take it and include one spare if the belt has room.
A practical marathon belt packing example
Here is a useful example for a runner expecting to finish in around four to four and a half hours. They plan to use water stations, have practised taking one 30-gram gel roughly every 30 to 35 minutes, and want their own fuel rather than relying on the course supply.
Their running belt contains:
- Seven to eight gels, with the first four placed where they are easiest to grab
- One electrolyte sachet or tablet, if this has been used successfully in training
- A phone in a waterproof sleeve or zipped pocket
- House or car key, secured separately so it cannot work loose
- A bank card or small amount of cash for travel after the finish
- A paracetamol-free blister plaster or small amount of anti-chafe product if needed
- A folded tissue and one spare safety pin
For a cool spring marathon, you might also tuck in lightweight gloves or arm warmers after the first few miles. A disposable throwaway layer is usually a better answer for a cold start than trying to force a jacket into a full belt. If rain is likely, protect your phone and any paper items in a small waterproof bag.
Where each item should go
Packing order matters more than people think. Put the items you will use first in the most accessible pocket. If your belt has several compartments, use one for fuel and another for valuables. A gel wrapper stuck to a phone screen is irritating when you are trying to send a message after the finish.
Place gels flat, with the tear tabs facing the same direction. This makes it easier to find one by feel, especially when your hands are cold. Avoid folding gel packets sharply. A crease can weaken the packaging and leave you with sticky fingers halfway through the race.
Keep your phone against the body side of the belt, ideally in a secure zip pocket. It is heavier than gels, so placing it centrally helps the belt sit evenly. Keys should not share a pocket with your phone unless they are in a key clip, pouch or separate compartment. A key bouncing against the screen for four hours is an avoidable problem.
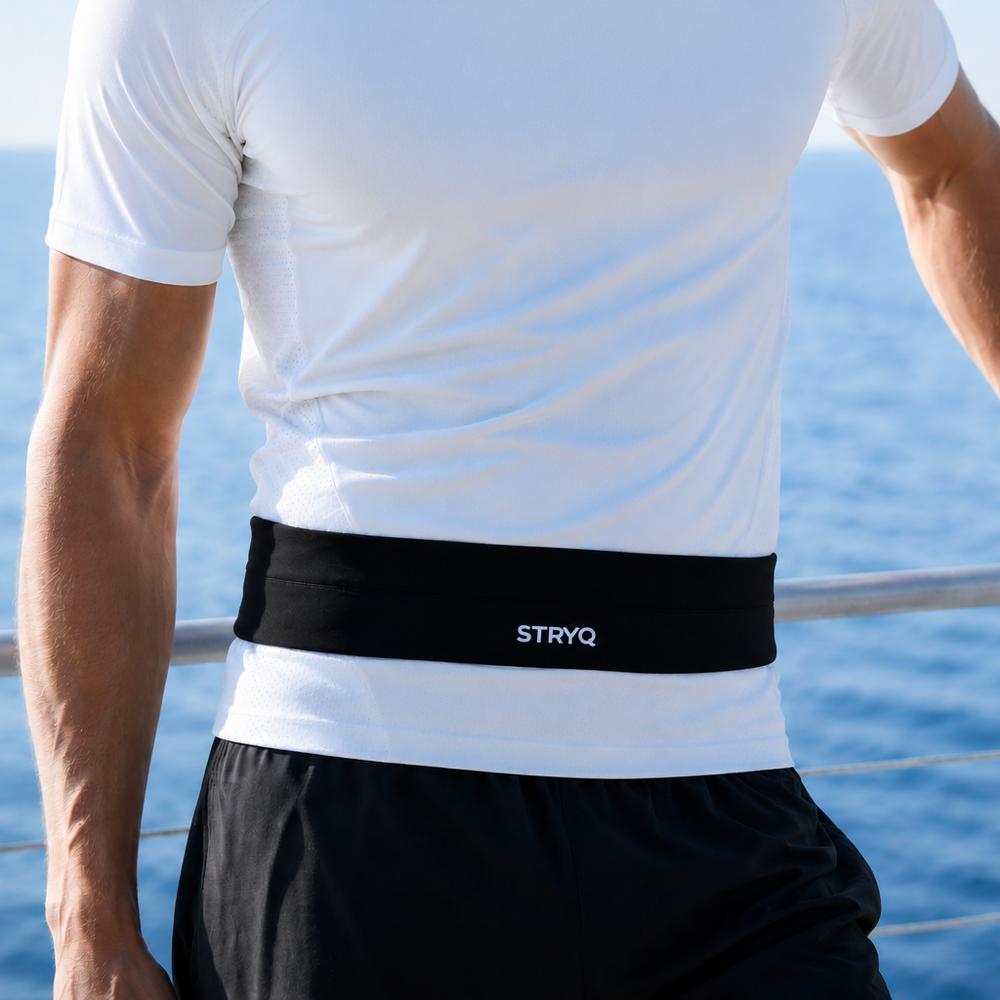
If your belt has adjustable storage, start with the fuller pockets at the front or slightly to either side. This is usually easier for grabbing fuel without breaking stride. However, some runners prefer the phone at the back because they do not like the feel of it at the front. There is no universal right position. The right one is the position that stays put on your longest training run.
What not to put in your marathon belt
Overpacking is one of the main reasons belts bounce. A marathon can feel unpredictable, which makes it tempting to carry every possible solution. In reality, extra weight and clutter can become the problem.
Leave out anything you have no clear plan to use. Full-sized sunscreen, a large wallet, a bulky portable charger and a heavy waterproof are rarely good belt items. Apply sunscreen before the race, bring your wallet in a kit bag and arrange your travel plans before you enter the start pen.
Be cautious with painkillers. Taking anti-inflammatory medication during endurance events can carry risks, particularly if you are dehydrated. If you need medication for a known medical reason, follow guidance from your clinician and carry only what you need in clearly labelled packaging.
A belt also is not the best place for a large water bottle. If you need to carry significant fluid, choose equipment designed for that job. Trying to make one piece of kit solve every problem can lead to chafing, bounce and a frustrating race.
Test your packing on a long run
Do not test a fully loaded belt for the first time in the start pen. Use the same setup on at least one long run, preferably at a pace that includes some marathon-effort sections. A belt may feel fine for an easy 5K but move differently once you are sweating, taking gels and running with purpose.
Set the belt snugly around the area where it feels most stable, usually the waist or upper hips. It should not be tight enough to restrict your breathing, but it must be secure enough that it cannot slide down as the pockets empty. Load it before tightening it. A belt adjusted when empty often feels loose once your phone and fuel are added.
During the run, practise taking a gel without stopping. Notice whether the pockets are easy to reach and whether the remaining contents shift afterwards. If the belt bounces, first check the fit. Then check the packing. One heavy item sitting on one side can be enough to cause movement.
Sweat can also affect comfort over time. Look for rubbing at the waistband and consider applying anti-chafe product where you know you need it. If a belt works for two hours but irritates you after three, that is useful information to act on before race day.
Your 60-second race morning check
On race morning, pack your belt in the same order you used in training. Count your gels. Check your phone has charge and that your emergency contact details are available. Make sure the zip is closed, the key is secure and the belt is adjusted after everything is inside.
Then leave it alone. Constantly rearranging kit because someone else has a different setup usually creates doubt, not improvement. Your marathon belt should feel familiar enough that you barely think about it once the race begins.
The best setup is the one that lets you take fuel, carry the basics and get on with running. Pack with purpose, test it properly and give yourself one less thing to worry about when the miles get harder.