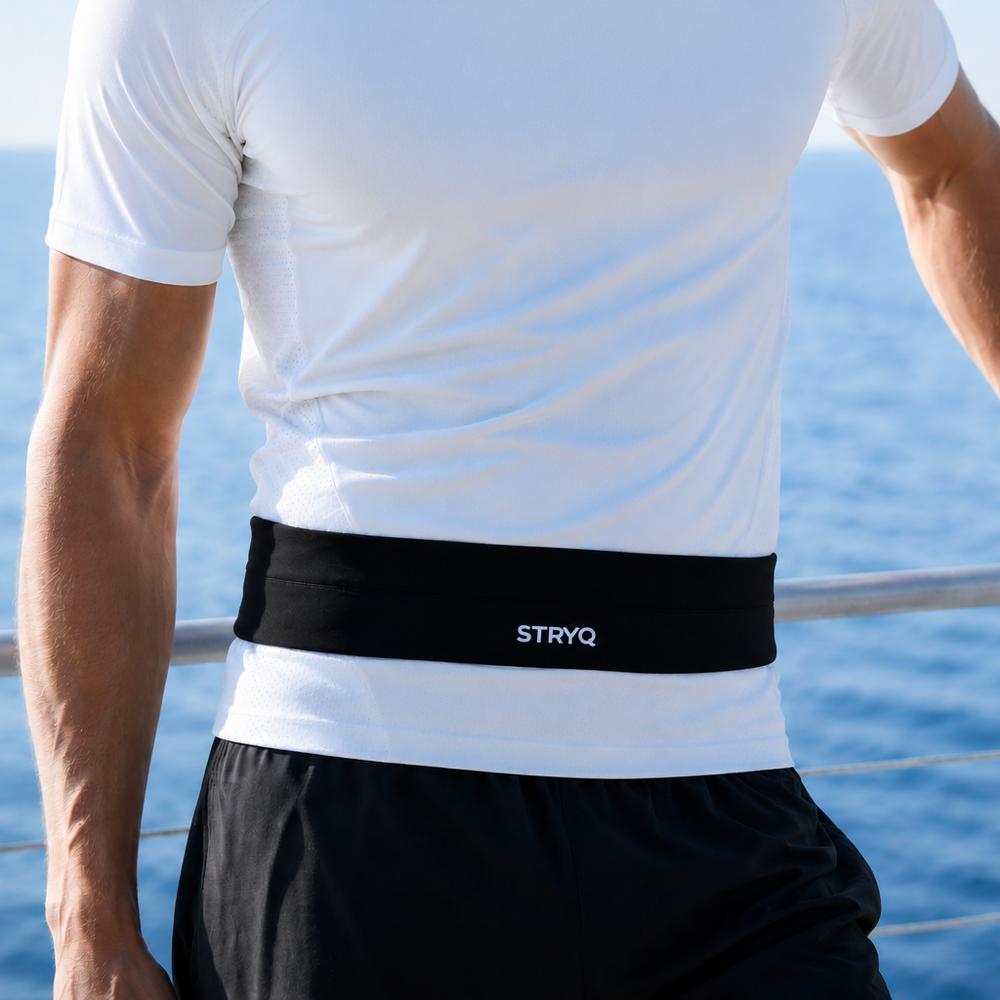
A running belt is a snug, elasticated accessory worn around your waist or hips to carry essentials like your phone, keys, and energy gels hands-free during a run. For beginner runners, choosing the right one makes the difference between a comfortable training session and a frustrating, bouncing distraction. This running belt new runner guide covers every decision you need to make: belt type, sizing, storage, placement, and budget. Running belts are recommended for runs up to 2 hours, making them the ideal starting accessory for most new runners building their weekly mileage.
What types of running belts suit new runners?
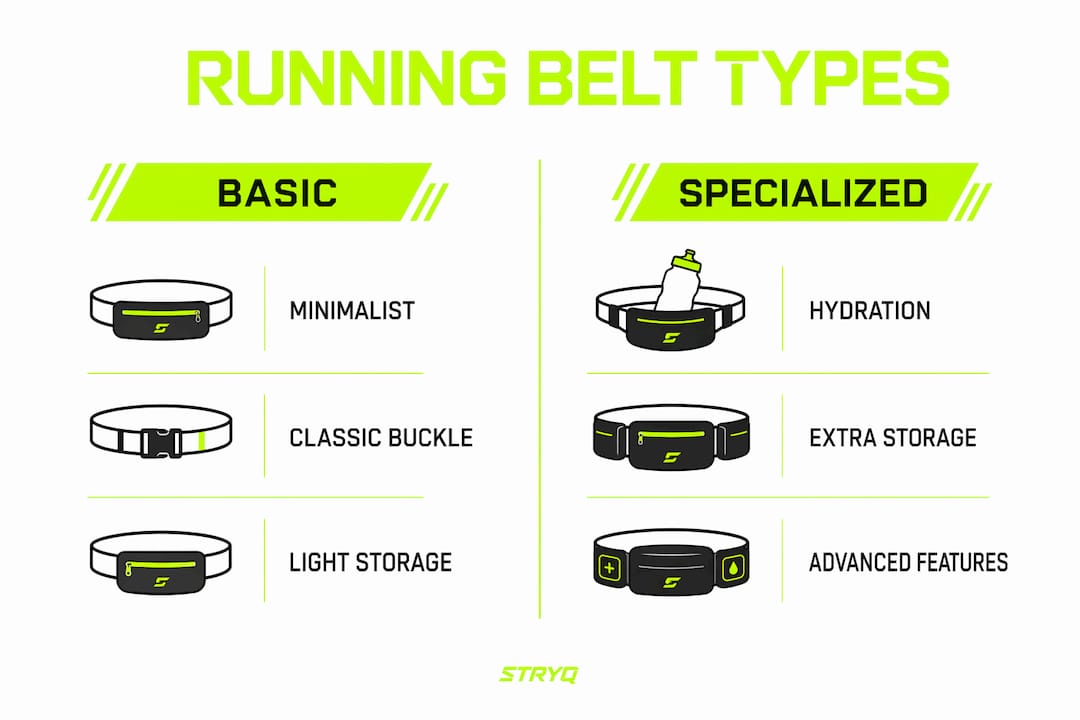
Choosing the right category of belt is the first decision, and it shapes everything else. The four main types each serve a different purpose, and knowing which one fits your current training stage saves you money and frustration.
Minimalist tubular belts are slim, stretchy tubes that sit flat against your body. They hold a phone, a key, and perhaps a gel or two. They work well for short runs of 30–60 minutes where you want the least possible bulk. The trade-off is limited storage and no separate compartments, so your phone and keys share the same space.
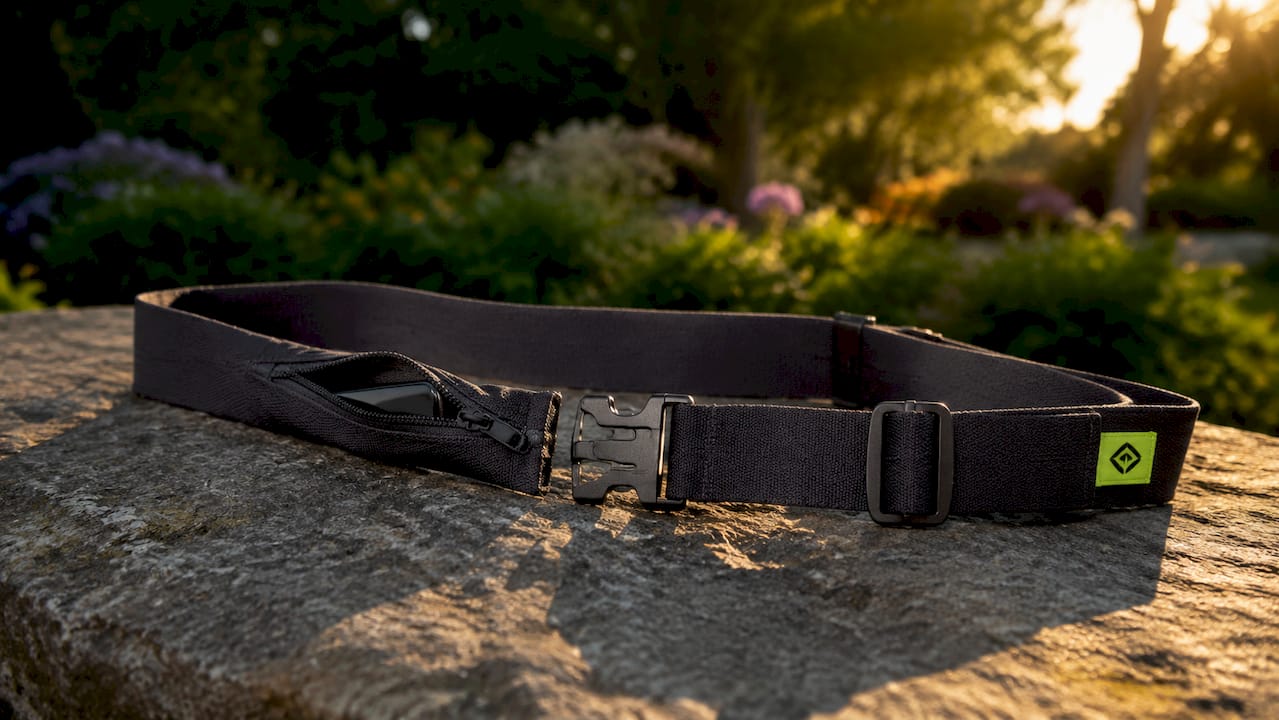
Classic buckle belts are the most common choice for beginners. They feature a clip or buckle fastening, one or more zippered pockets, and an adjustable strap. They suit a wider range of body shapes and are easier to put on and take off than tubular designs. Most runners find this style the most practical all-rounder for 5K to 10K training.
Hydration belts add bottle holders or loops for soft flasks alongside standard storage pockets. They become relevant once your runs extend beyond an hour in warm conditions. Hydration belts are needed for runs over 2 hours or in hot weather where carrying water is non-negotiable.
Race-specific belts are stripped back to the bare minimum: a thin band with a bib holder and perhaps one small pocket. They are not the right starting point for training, but worth knowing about when you sign up for your first event.
Here is a quick comparison of belt types by beginner use case:
- Minimalist tubular: best for short runs under 45 minutes, minimal kit
- Classic buckle: best all-round choice for 5K to 10K training
- Hydration belt: best for runs over 60 minutes in warm conditions
- Race belt: best for race day only, not suitable for training
Pro Tip: Start with a classic buckle belt. It gives you the most flexibility as your training distances grow, without committing to a hydration setup you may not need yet.
How do you measure and choose the right size running belt?
Fit is the single most important factor in a running belt. A belt that fits correctly stays still, carries weight without bouncing, and disappears from your awareness within the first kilometre.
Measuring correctly
Measure your waist or hips with a soft tape measure while standing naturally. Do not hold your breath or pull your stomach in. The measurement you take standing relaxed is the one that reflects how your body sits during a run. Take both your waist and hip measurements, as you may prefer to wear the belt at either position.
Waist vs hips: which is better?
Belt placement varies by body shape. The natural waist is narrower and tends to hold a belt more securely, particularly for runners with a more athletic build. The hips offer a wider, flatter surface that some runners find more comfortable for carrying heavier loads. Try both positions during a short test run to find what works for your shape.
Sizing down when in between
When between sizes, size down. A slightly loose belt bounces with every stride and causes chafing that requires a mid-run stop to fix. A snug belt uses the stretch of the elastic to stay in place without digging in. This is the single sizing rule that most beginners get wrong.
- Take your waist and hip measurements with a soft tape measure.
- Compare both measurements against the brand’s size chart.
- If you fall between two sizes, choose the smaller one.
- Put the belt on unloaded and jog on the spot for 30 seconds.
- Load the belt with your usual kit and repeat the jog test.
- Adjust the fit until there is no vertical movement.
Wider elastic belts distribute pressure more evenly than thin straps. Thin straps concentrate pressure on a narrow band of skin, which causes rotation and discomfort on longer runs. Beginners often choose thin belts because they look less bulky, but the wider design performs significantly better in practice.
Pro Tip: Test your belt on a 20-minute training run before wearing it on race day. A belt that feels fine standing still can behave very differently once you are moving at pace with a full load.
What storage features should beginner runners look for?
Storage needs are straightforward at the start of your running life, but they grow quickly as your distances increase. Getting the right balance from the beginning means you will not need to replace your belt after your first few months.
Typical beginner essentials include a phone, a door key, a small snack or gel, and an ID card. That is the core kit for most training runs up to an hour. Separate compartments matter here: a phone sharing space with a metal key will scratch the screen within a week.
Key features to look for:
- Zippered main pocket: keeps items secure on uneven terrain and during faster efforts
- Separate key clip or loop: protects your phone screen and stops keys rattling
- Quick-access pocket: useful for gels or a card you need to reach without stopping
- Water-resistant lining: protects your phone during rain or sweaty summer runs
- Reflective detailing: soft, elastic, breathable fabrics with reflective details improve both comfort and visibility on early morning or evening runs
As your runs extend beyond an hour, you will want to add a soft flask or small water bottle to your setup. A belt with a flask loop or bottle pocket gives you that option without buying an entirely new piece of kit. Stryq’s running belt collection includes options with dedicated flask pockets for exactly this transition point.
The material of the belt itself matters as much as the pockets. Neoprene holds sweat against your skin. Mesh or moisture-wicking fabrics breathe and dry quickly. If a belt is uncomfortable against bare skin, runners stop wearing it. Check the inner lining before you buy, and if possible, test it against skin rather than over a layer of clothing.
How do you wear a running belt for the best comfort?
Correct placement and adjustment are skills that take one or two runs to learn. Once you have them right, the belt becomes invisible.
Start by positioning the belt at your natural waist for your first run. Tighten it until there is no gap between the belt and your body, but you can still breathe comfortably. A snugly fitted belt reduces bounce and keeps your gear stable so you can focus on your pace rather than your kit.
Tips for preventing movement and bounce:
- Centre the main pocket at the front or back of your body, not to one side
- Distribute weight evenly across multiple pockets where possible
- Tighten the belt one notch more than feels comfortable at rest; it will loosen slightly as you warm up
- Wear the belt over a single thin layer rather than directly on bare skin if friction is an issue
Some runners prefer a high-waist position for reduced movement, while others favour the hip position for comfort during longer efforts. Neither is universally correct. Your body shape and the weight you are carrying both influence which position works best.
Hydration belts require extra attention to balance. Larger capacity hydration belts need balancing to prevent sloshing and bounce. Fill flasks fully rather than partially, as a half-full flask moves more than a full one. Distribute bottles evenly on both sides of the belt where the design allows.
Pro Tip: Wash your belt after every three or four runs. Sweat degrades elastic and causes odour that no amount of airing out will fix. Most belts wash well on a cold, gentle machine cycle.
How do you choose a running belt that matches your goals and budget?
The right belt for a beginner is not the most expensive one. It is the one that fits your current run distances, carries what you actually need, and stays in place without adjustment.
Match your belt type to your typical run length:
- 5K training runs: a minimalist tubular belt or a slim buckle belt with one zippered pocket is sufficient.
- 10K training runs: a classic buckle belt with two pockets and a key clip covers all your needs.
- Half marathon training: look for a belt with a flask loop or bottle pocket, as runs will regularly exceed 60 minutes.
- Race day: a race belt with a bib holder keeps your number secure without adding bulk.
Entry-level running belts start at around £27 and rise to approximately £45 for belts with more storage and hydration compatibility. The price difference reflects durability, material quality, and the number of features rather than brand prestige. A belt at £35 with a wide elastic band, two zippered pockets, and a key clip will outperform a £20 thin-strap belt on every metric that matters for comfort.
Prioritise fit and material over brand name or visual appeal. A belt that looks impressive on a product page but fits poorly will spend most of its life in a drawer. Use the sizing steps from the fit section of this guide, test the belt loaded on a training run, and only then commit to wearing it in a race or longer effort. For more detail on belts suited to longer distances, the best running belt for marathon training guide covers the additional considerations that come with higher mileage.
Key takeaways
A running belt fits correctly when it stays still at pace, carries your essentials without bounce, and requires no mid-run adjustment.
| Point | Details |
|---|---|
| Choose the right belt type | Classic buckle belts suit most beginners; add hydration features as distances grow. |
| Measure accurately | Use a soft tape measure standing relaxed; size down if between sizes to prevent bounce. |
| Prioritise fit over storage | A snug, wide elastic belt outperforms a thin-strap belt with more pockets. |
| Test before race day | Run loaded in training to confirm fit and placement before committing to an event. |
| Match belt to run length | Belts suit runs up to 2 hours; switch to a hydration vest for longer or hotter efforts. |
What I have learned from watching beginners get this wrong
The most common mistake I see new runners make is buying a belt based on how many pockets it has. Storage capacity is the last thing you should optimise for at the start. Fit is everything. A belt with four pockets that bounces on every stride is worse than a belt with one pocket that stays perfectly still.
The second mistake is not testing the belt loaded. Runners put the belt on at home, feel that it fits, and then discover on their first long run that a phone, two gels, and a key create a completely different weight distribution. The belt that felt fine empty now rotates and chafes. Test it loaded, on a real run, before you rely on it.
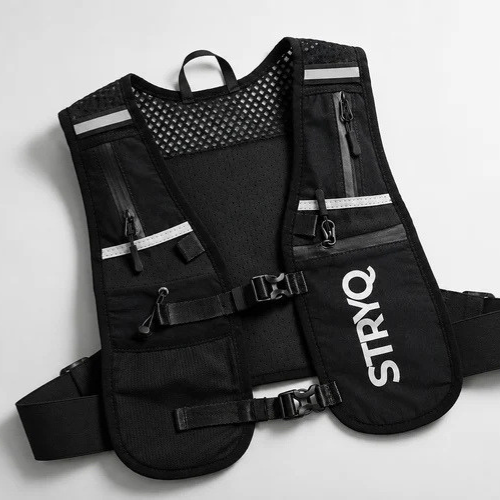
The third thing I would tell any new runner is to resist the urge to upgrade too quickly. A well-fitted basic belt will serve you through your first six months of training without issue. The time to think about a hydration belt or a running hydration vest is when your runs consistently exceed an hour, not before. Build your kit around your actual training, not the training you plan to do eventually.
The best running belt is the one you forget you are wearing. That is the only benchmark that matters.
— martin
Stryq running belts: built for beginners who want it right first time
Stryq designs running belts for everyday runners who want quality without paying over the odds. Every belt in the Stryq range is tested across multiple sample revisions before launch, with fit, bounce reduction, and material comfort as the primary criteria.
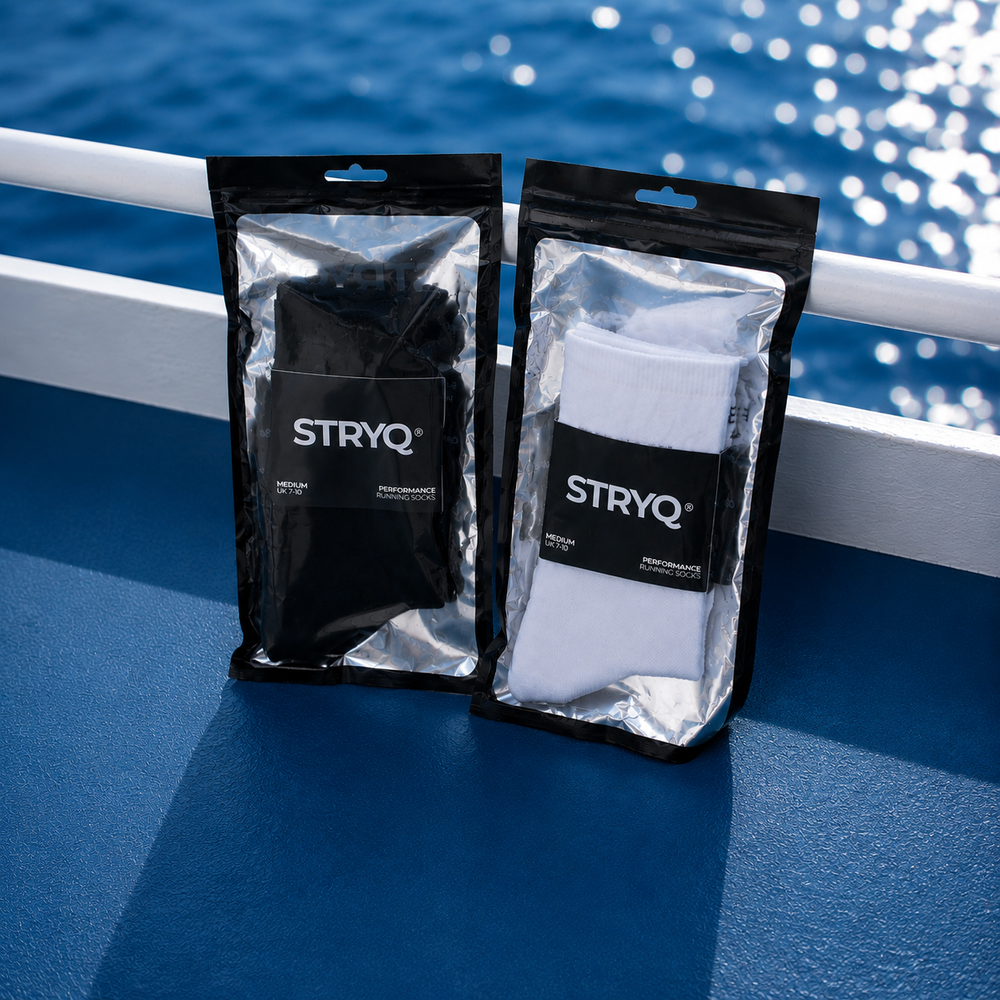
The Stryq running belt range includes lightweight options suited to 5K and 10K training, with sizing guidance to help you get the fit right from the first wear. Belts are available in multiple sizes with wide elastic construction to distribute pressure evenly and keep movement to a minimum. If you are building your kit from scratch, pairing a running belt with Stryq’s cushioned running socks gives you two of the most comfort-critical pieces of kit sorted in one go.
FAQ
What is a running belt used for?
A running belt carries essentials like a phone, keys, gels, and ID hands-free during a run. It sits around your waist or hips and keeps items secure without requiring you to hold anything.
How tight should a running belt be?
A running belt should be snug enough that there is no gap between the belt and your body, but not so tight that it restricts breathing. When between sizes, size down to prevent bounce.
When do I need a hydration belt instead of a standard belt?
A hydration belt becomes necessary for runs over 2 hours or in hot conditions where carrying water is required. For most beginner training runs under an hour, a standard belt with a flask loop is sufficient.
Where should I wear my running belt, on my waist or hips?
Placement depends on your body shape. The natural waist tends to hold a belt more securely for runners with an athletic build, while the hips suit runners who find the waist position uncomfortable. Test both positions on a short run.
How do I stop my running belt from bouncing?
Size down if you are between sizes, use a wide elastic belt rather than a thin strap, and distribute weight evenly across pockets. A snugly fitted, fully loaded belt stays stable far better than a loose or unevenly packed one.